Nothing here yet. Every maker starts somewhere.
Pick a starter kit with everything for your first cast, or let the beginner guides walk you through it.
Shop the starter kits Read the beginner guides
 By Sofie Demeyer
·
6 min read
Beginner
By Sofie Demeyer
·
6 min read
Beginner

Few things are more frustrating than lifting a fresh cast from the mould and finding it peppered with tiny craters. Air bubbles are the single most common complaint from makers working with Jesmonite®, and the good news is that they are almost entirely preventable. In this guide you’ll learn exactly why Jesmonite® air bubbles form, how to mix and pour to avoid them, and how to rescue a piece that already has them.
 Vibration plate Jesmonite recommended EU plugrecommended
Vibration plate: the pro fix for bubbles
€ 69,95
Add
Vibration plate Jesmonite recommended EU plugrecommended
Vibration plate: the pro fix for bubbles
€ 69,95
Add
Jesmonite® is a water-based two-part material: a mineral Jesmonite® base powder and a liquid acrylic. When you combine the two and stir, you unavoidably fold air into the mix. Some of that air gets trapped against the mould surface as the material sets, and those trapped pockets become the pinholes and craters you see on the finished face.
A few things make it worse. Stirring too fast whips in extra air, a mix that is too thick can’t release bubbles before it firms up, and intricate moulds with fine detail give air more places to hide. Understanding this is half the battle: your job is to fold in less air, and give what does get trapped a route to escape before the cast sets. AC100 demoulds after around 30 minutes and gives you a comfortable working window of about 10 to 15 minutes (a little less if the room is above 25 °C), so there’s time to work the bubbles out before the cast sets.
A good result starts at the mixing stage, and it starts with the ratio. AC100 uses a mix ratio of 1:2.5 (Jesmonite® liquid to base by weight), so weigh both parts accurately on a decent scale, because a mix that is too thick traps far more air and won’t let bubbles rise.
When you combine the parts, add the Jesmonite® base powder to the Jesmonite® liquid and fold it together to wet everything out. Then mix thoroughly to break up any lumps, keeping the blade below the surface so you aren’t dragging air down into the mix. For larger batches, a high-shear mixer on a drill gives you a smooth, lump-free blend quickly, which means less prolonged stirring and less folded-in air overall.
Once mixed, don’t rush straight to the pour. Let the mix stand for a few seconds and give the cup a firm tap on the workbench. This encourages the biggest bubbles to migrate up and pop before the material ever reaches your mould.
How you pour matters just as much as how you mix. Pour slowly, in a thin, steady stream, from around 10 cm above the mould. A thin stream lets trapped air shear out of the mix as it falls, whereas dumping a thick glug from the cup drags a mass of air straight down into the pour.
Aim for the lowest point of the mould and let the material flow and rise to fill the shape. Keep the stream feeding into material that is already there so you aren’t splashing and folding in fresh air.
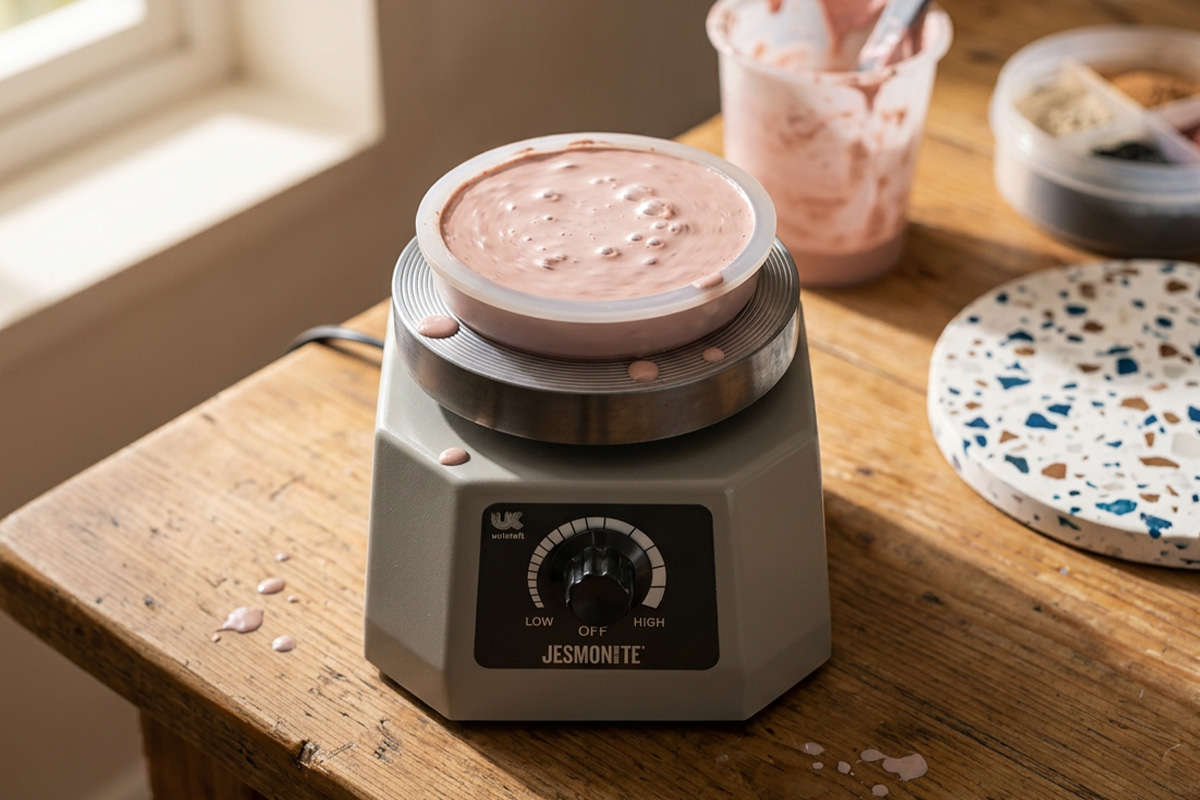
Tapping is the main way to beat air bubbles. Once the mould is full, get the bubbles moving:
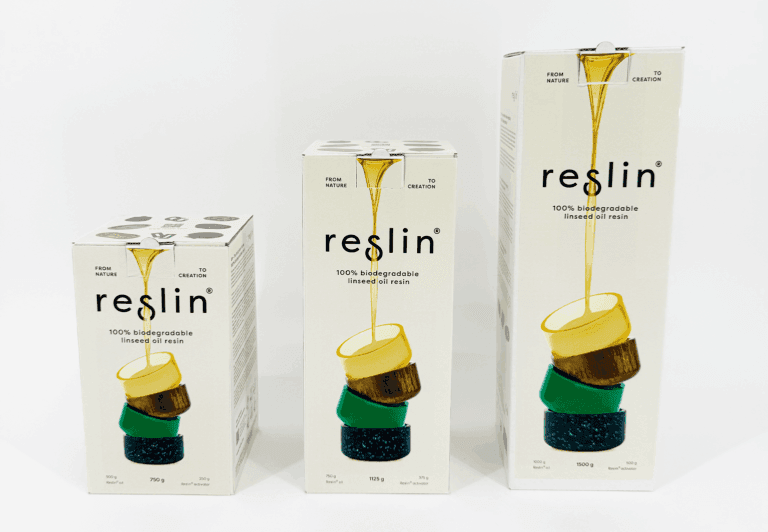
Reslin®, a plant-based casting resin, benefits from the same slow-pour-and-tap approach, so these habits carry across whatever you cast.
Even with good technique, the occasional pinhole slips through, particularly on complex shapes. If you demould after around 30 minutes and find small surface craters, you can still save the piece. Let it cure fully first, which for Jesmonite® means keeping it for 24 hours as it continues to harden and strengthen.
Once cured, mix a very small, slightly looser batch of the same material and use it as a filler. Work it into each crater with a fingertip or a small tool, wiping away the excess so it sits flush with the surface. Let that repair cure, then smooth it back. A little at a time works better than trying to skim the whole face.
To finish, sand the repaired areas by hand. Start with a coarser sanding accessory to knock back the filler, then move to a finer variant such as P150 sandpaper on a sanding block to blend the repair into the surrounding surface. Because Jesmonite® is porous, remember to seal the piece before it meets water or goes outdoors, and any small filled spots will all but disappear under a sealer.
Air bubbles come down to three habits: mix accurately, pour slowly in a thin stream, and tap the mould until the bubbles rise. Master those and your casts come out smooth almost every time. For the full casting routine, see our step-by-step casting guide. If you’re just getting started, an AC100 starter kit gives you the Jesmonite® base powder, Jesmonite® liquid and essentials in one go, or browse AC100 and the full range of accessories to build your setup for bubble-free results.

Everything from this guide in one basket: AC100 sets - 1750, with the recommended extras optional.


★★★★★ Rated Excellent on Trustpilot
Usually because too much air is being folded in during mixing, or the mix is too thick to release it. Weigh your Jesmonite® base powder and Jesmonite® liquid to the correct 1:2.5 ratio (liquid to base), mix firmly but keep the blade below the surface, then pour slowly and tap the mould so trapped air can escape before the cast sets.
While it’s still liquid, gently tap and vibrate the mould so bubbles rise, and pop any that break the surface with a toothpick. If pinholes remain after demoulding, cure the piece for 24 hours, fill the craters with a small fresh batch, then sand the repairs smooth.
Yes. Tapping and light vibration shake trapped air loose so it floats to the surface and pops. It works best when done promptly and patiently while the mix is still fluid, before it thickens toward its demould point and traps the bubbles in place.
It helps, but small pinholes are fixable afterwards. Focus on getting the visible face clean by tapping the mould so bubbles rise, then repair any stragglers with filler once cured. Since Jesmonite® is porous, sealing the finished piece also helps disguise tiny imperfections.
Sofie knows every Jesmonite variant, ratio and fix. If a cast can go wrong, she's un-wronged it. Part of the Gigacrea maker team.