
Nothing here yet. Every maker starts somewhere.
Pick a starter kit with everything for your first cast, or let the beginner guides walk you through it.
Shop the starter kits Read the beginner guides
 By Lena Verhoeven
·
8 min read
Beginner
By Lena Verhoeven
·
8 min read
Beginner

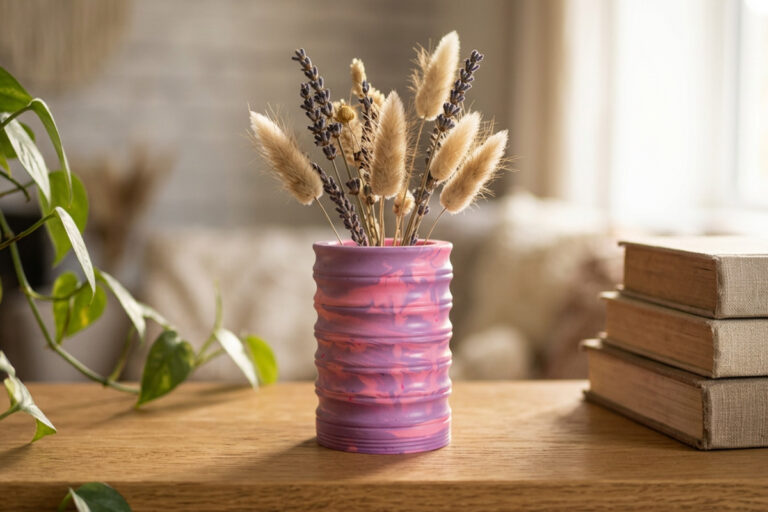
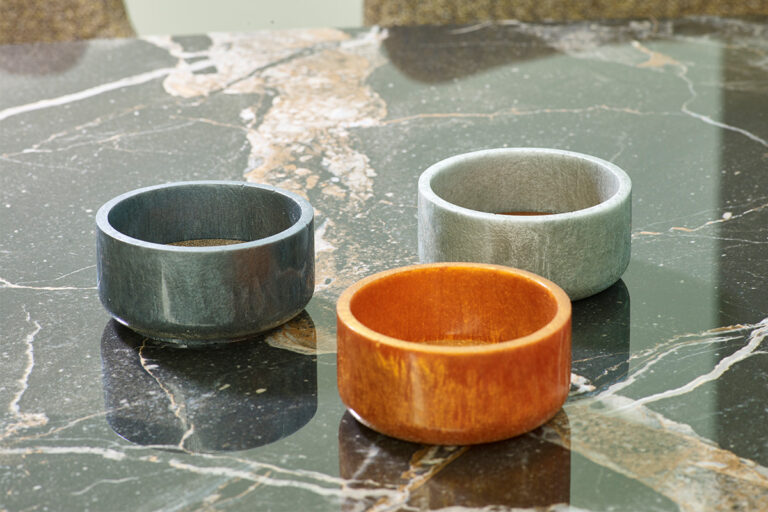
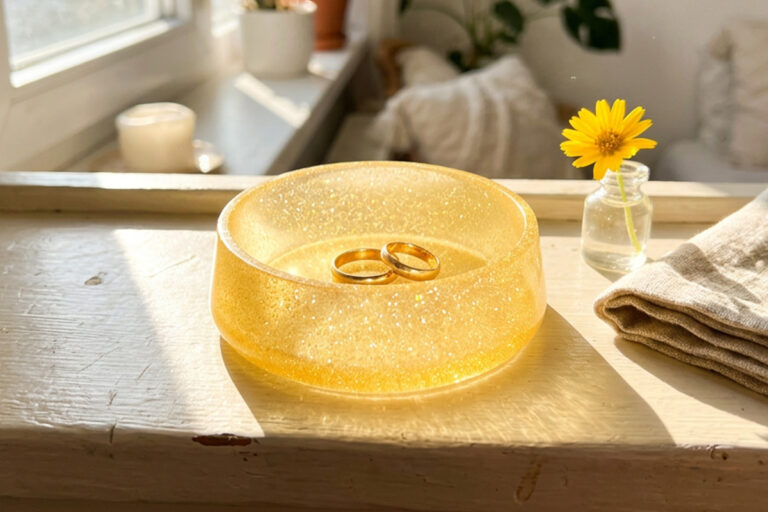
Colour is what turns a plain cast into something worth keeping. Once you know how to colour Jesmonite®, you can make soft pastel coasters, bold neon trinket trays, marbled vases and terrazzo-style homeware, all from the same Jesmonite® base powder. This guide walks you through which pigments to use, how much you need, and how to create the most popular effects step by step: solid colour, marble, colour blocking, broken-and-rejoined casts and terrazzo.
The easiest way to colour Jesmonite® is with our liquid pigments, concentrated, water-based colour that stirs in cleanly, stays lightfast and gives consistent results. Because they are so concentrated, a little goes a long way, which makes them very economical over time. (The neon pigments are the exception: those come as a powder.)
You can browse the full range in the Jesmonite® pigments category. Multisets are a smart starting point: they let you experiment across several shades and mix your own custom colours without buying a lot of large bottles. Natural and classic six-colour strips cover most makers’ needs, and you can always add single colours you use often.
You are not limited to our own pigments, either. Any water-based pigment will work with Jesmonite®. Just avoid oil-based colours, solvent dyes or food colouring, which can bleed, fade or interfere with curing.
Not much. Pigments are strong, so you only need a small percentage of your total mix. The rule is simple: add up to about 2% of the total mix weight in pigment, every time. Go beyond that and it can affect how the cast sets. Start with a tiny amount, mix fully, and add more only if you want a deeper colour, it is always easier to build up than to dial back.
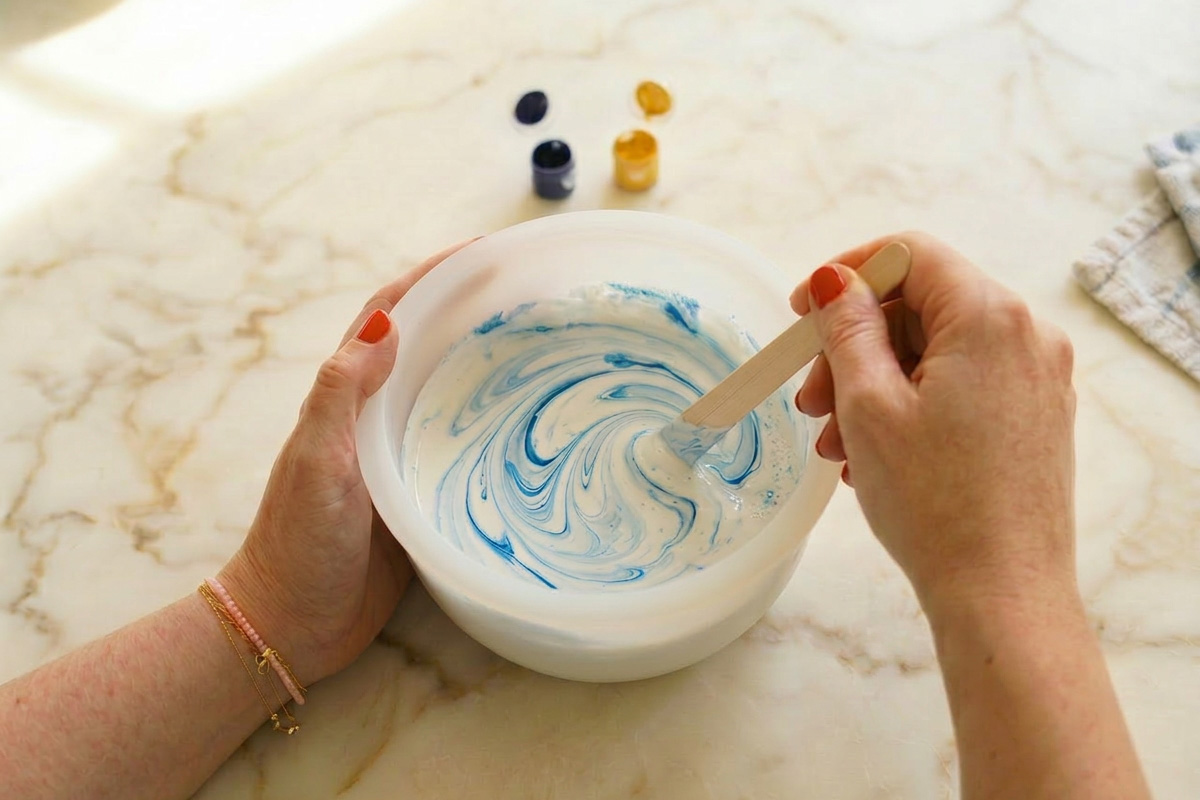
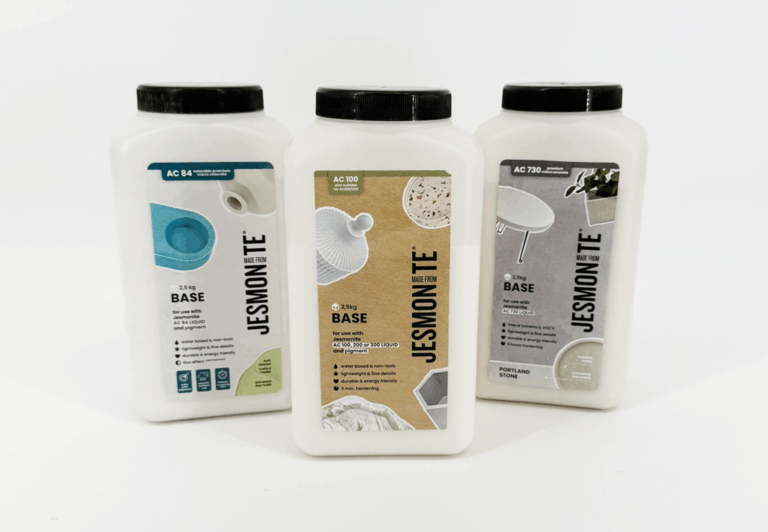
A reliable method is to mix your Jesmonite® base powder and Jesmonite® liquid first at the correct ratio (AC100 is 1:2.5, liquid to base; AC84 and AC730 are 1:5), then add the pigment once you have a smooth blend. Stir until the colour is even, with no streaks or dry specks. If you want to repeat a colour later, weigh your pigment and note it down so you can match the shade batch after batch.
Keep in mind that Jesmonite® dries slightly lighter than it looks when wet, and colours can shift a touch as the cast cures over the first day. For anything where matching matters, cast a small test piece first.
Solid, even colour is the foundation, and it is the easiest place to start.
Because Jesmonite® AC100 gives you a comfortable working window of about 10 to 15 minutes (a little less if the room is above 25 °C), demoulds after about 30 minutes and is fully cured after 24 hours, you have a relaxed, forgiving window to work in. That makes it a great choice for beginners chasing clean pastels and confident block colours. For soft tints use very little pigment; for rich shades add more gradually, staying under 2%.
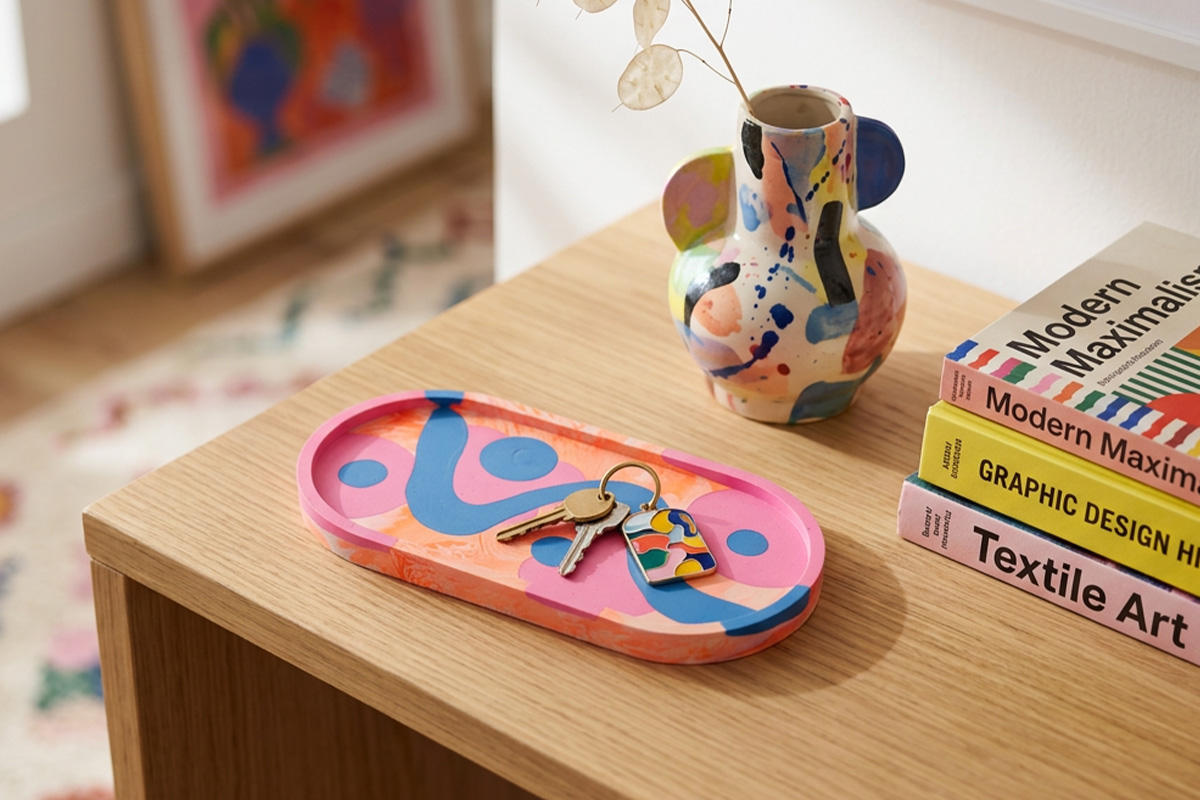
Marbling looks far more advanced than it is, and the trick is always the same: do not over-mix. How you add the colour depends on which colourant you use.
Pour into the mould and let the veins settle naturally. For a swirl finish, drizzle two or three colours into the mould in ribbons and give it a single gentle twist. Every pour is slightly different, which is part of the charm.
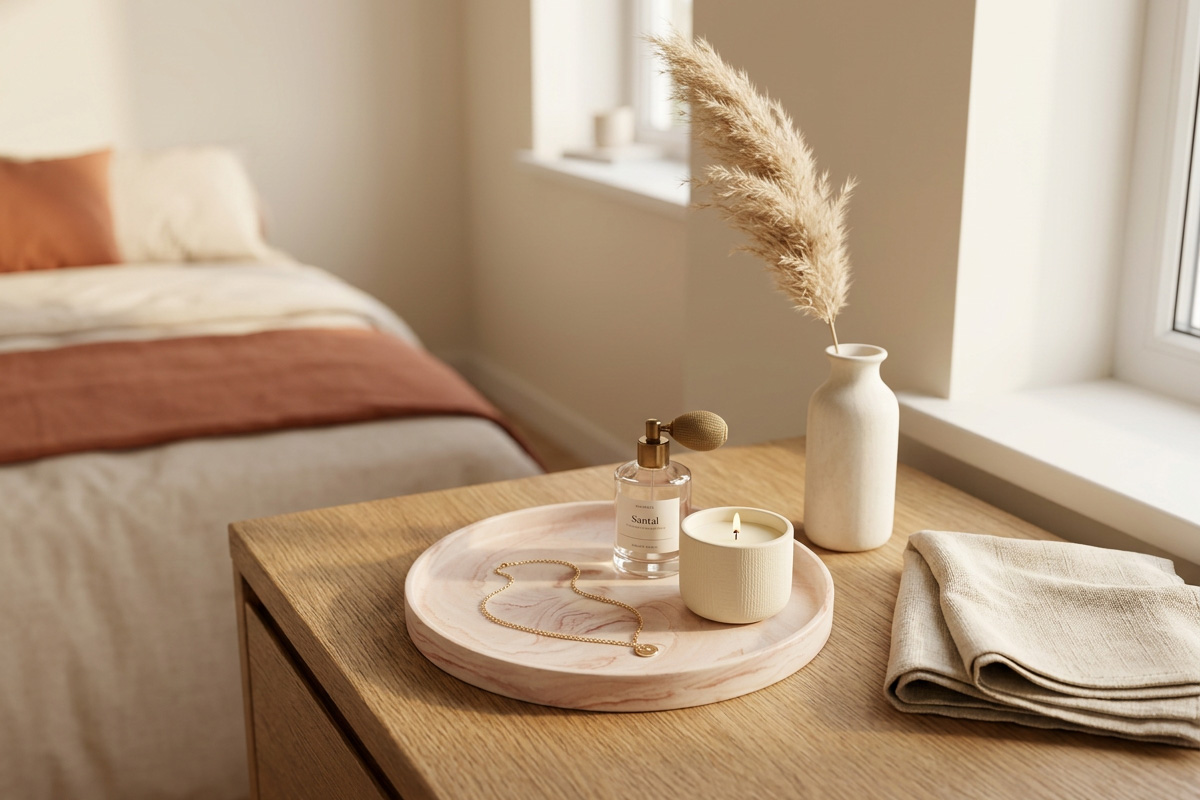
Colour blocking gives you crisp bands of colour in a single piece. The method is all about timing.
Tilt the mould slightly between layers for diagonal blocks, or keep it level for clean horizontal bands.
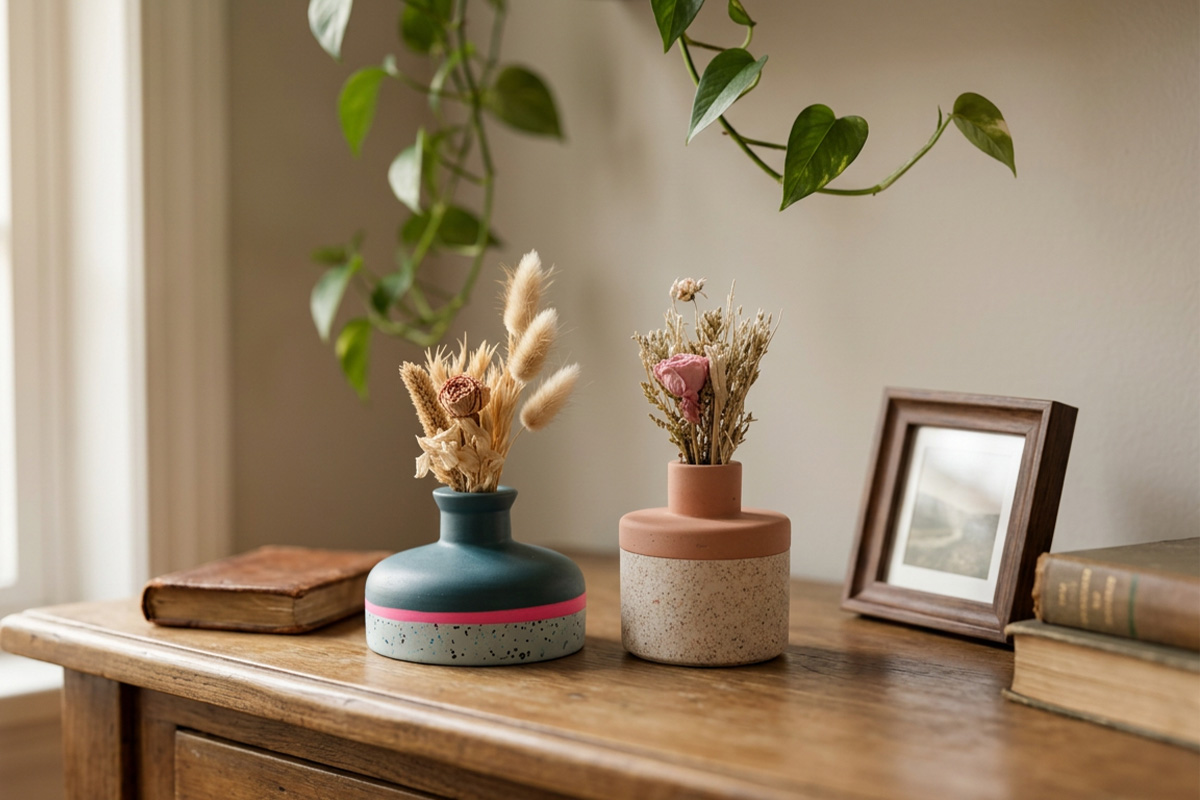
This technique gives a striking two-tone or two-texture piece with a natural break line. It sounds bold, but it is surprisingly forgiving.
The second pour can be a completely different finish, a contrasting solid colour, or even a terrazzo mix, so the two halves read as one deliberate design. Once demoulded, a light sand blends the join.
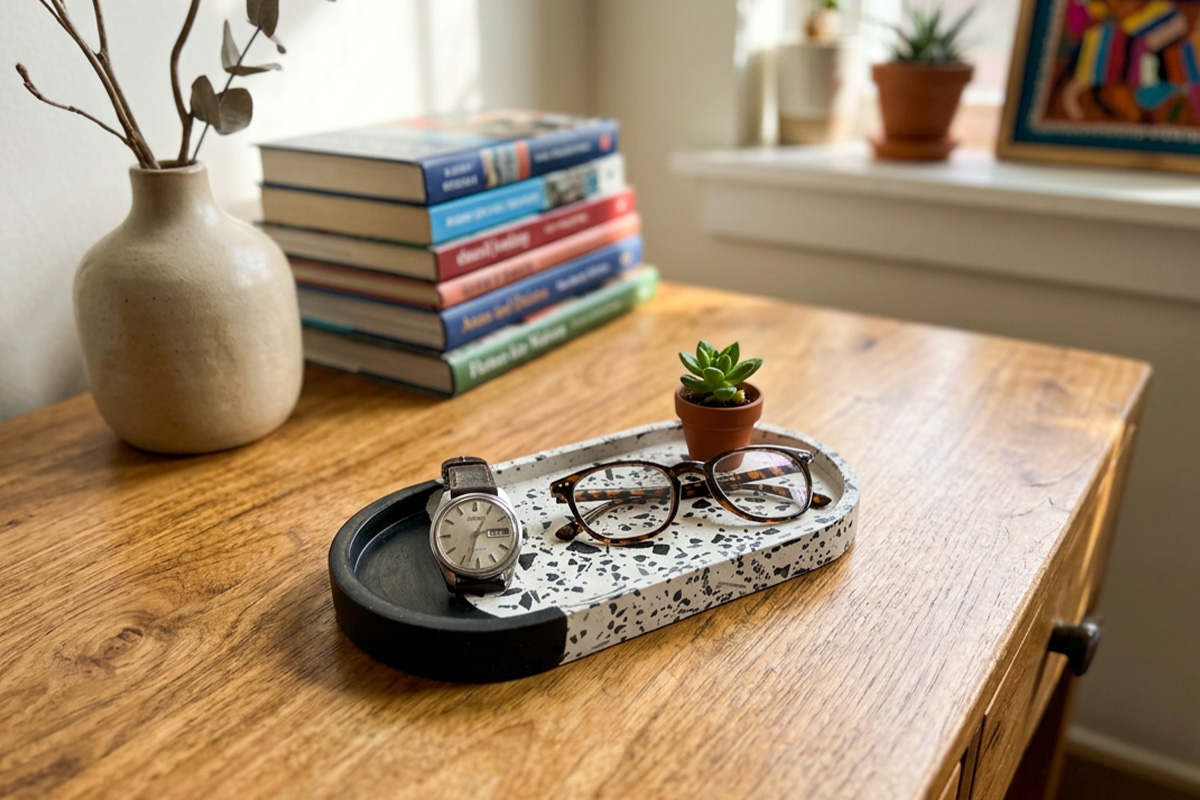
Terrazzo is one of the most popular looks in decorative casting: a speckled surface made from small chips set into a contrasting base. The classic way to make it uses Jesmonite® chips you make yourself.
As soon as you have demoulded, while the cast is still relatively soft, sand the surface back so the chips show through. Once the piece is fully cured, add a sealer, this brings the colours back out and gives a smooth, professional finish. For the full method, see our dedicated Jesmonite® terrazzo effect guide.
Prefer a ready-made option? StoneRoxx (granite pieces) and GlassRoxx (recycled-glass granulate coloured with water-based pigments) are fun, slightly more natural alternatives that fold into your mix the same way, no chip-making required.
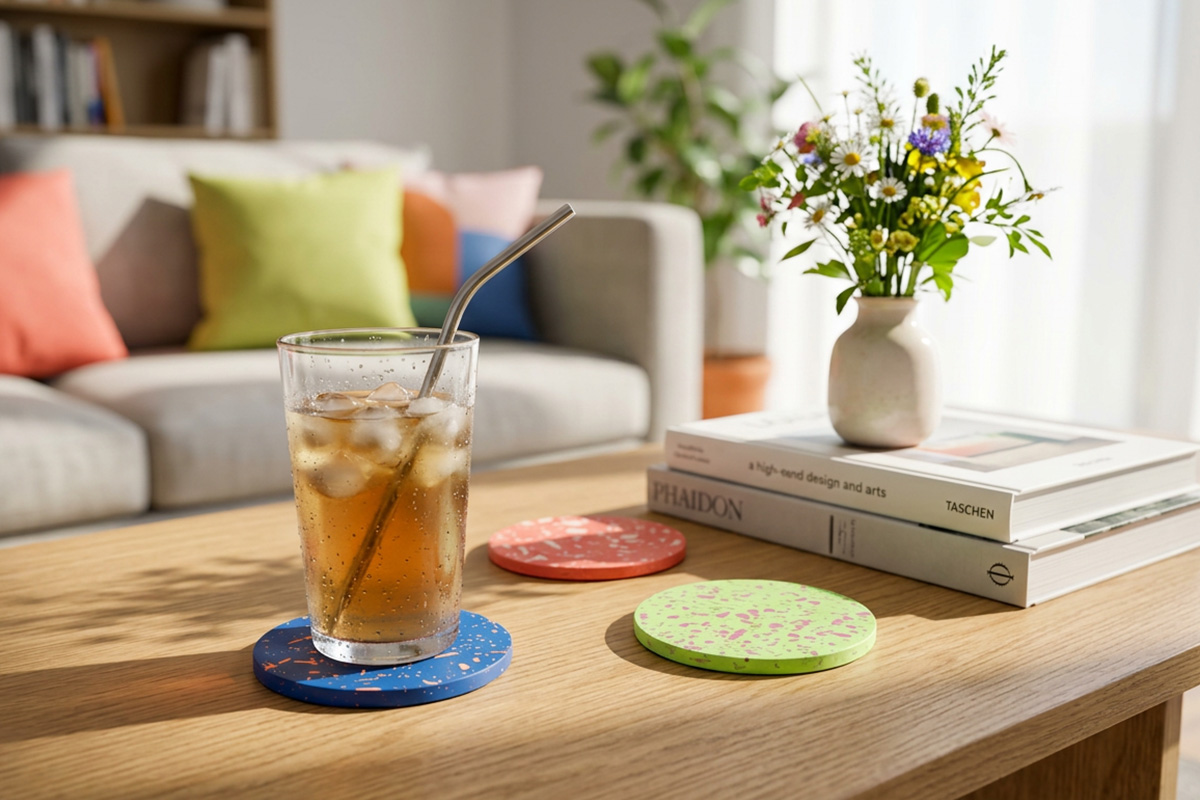
When you want colour to really pop, reach for neon pigments (these come as a powder). They work perfectly with AC100 and can also be used with AC84, giving bright, high-impact shades that suit trinket trays, coasters and playful homeware. Neon colours look their best over a white or very pale base, so the pigment has a clean canvas to glow against.
For metallic and pearlescent effects, mix mica-style metallic powders right through your Jesmonite® mix before pouring, for shimmer and sheen all through the cast. Metallic powders are only for adding to the mix, not for dusting onto a finished piece. For a metallic finish on the surface of a cured piece, use awax paste: once your piece is dry, rub it over the surface with a gloved finger, a sponge or a brush, then leave it to dry for about 15 minutes for a lustrous metallic sheen.
Whatever finish you choose, keep to the correct mixing ratio (1:2.5, Jesmonite® liquid to base, for AC100) and add pigment gradually, up to 2% of the mix. Little adjustments make a big difference with these concentrated colours.
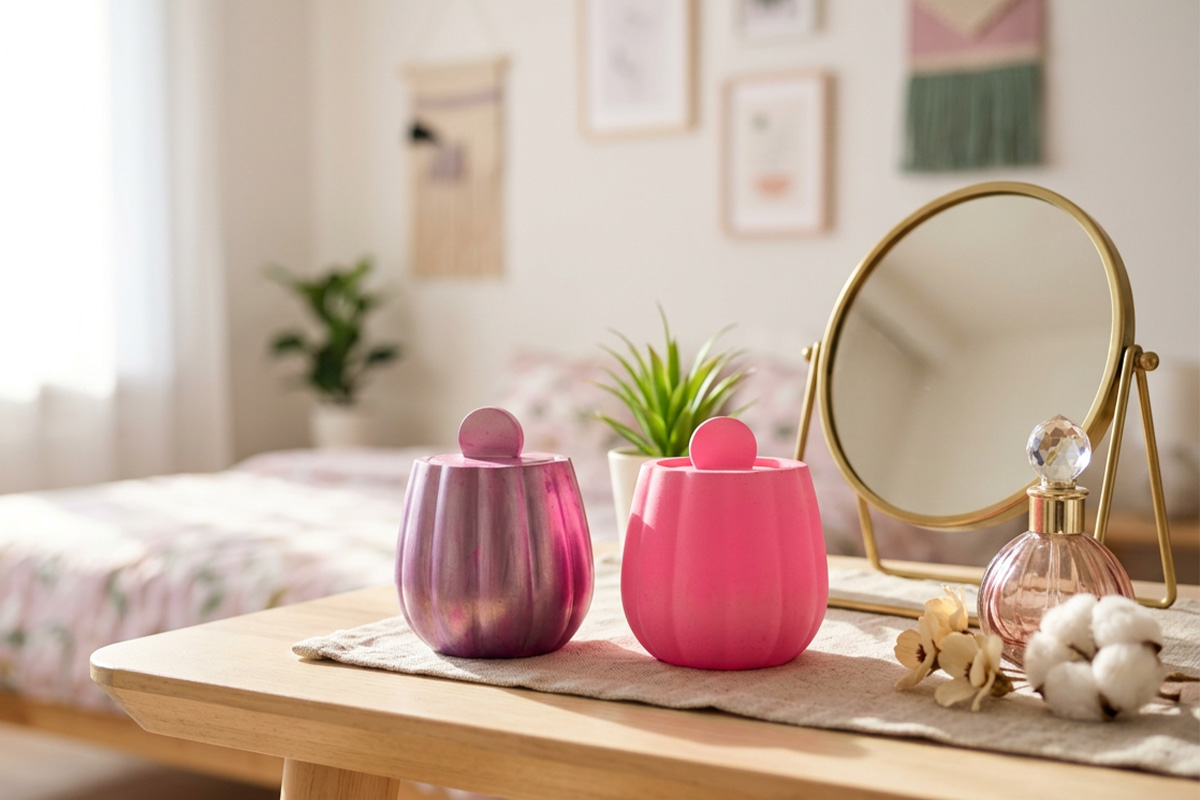
The best way to learn is to mix a few small test casts and see how the colours behave. Explore the full pigments range to find your palette, then try terrazzo with your own Jesmonite® chips (or StoneRoxx and GlassRoxx as a ready-made alternative). With a little practice, you will be turning plain casts into pieces you are proud to display.

Everything from this guide in one basket: Jesmonite pigment set 10gr x 15, with the recommended extras optional.


★★★★★ Rated Excellent on Trustpilot
Colour Jesmonite® by stirring in water-based pigment. Our standard pigments are liquid; combine the Jesmonite® base powder and Jesmonite® liquid first at the correct ratio (1:2.5, liquid to base, for AC100), then add up to about 2% pigment and stir until the colour is even. Add more gradually if you want a deeper shade.
Only a small amount. Pigments are very concentrated, so you can add up to about 2% of the total mix weight, every time; beyond that it can affect how the cast sets. Start with a tiny quantity, mix fully, and build up slowly. If you want to repeat a colour later, weigh your pigment and note the amount so you can match the shade next time.
Yes, as long as they are water-based. Any water-based pigment will mix in cleanly. Avoid oil-based colours, solvent dyes or food colouring, which can bleed, fade or stop the cast curing properly.
Yes. Neon pigments (which come as a powder) give bright, high-impact colour that works perfectly with AC100 and can also be used with AC84, especially over a white base. For a metallic or pearlescent look, use mica-style metallic powders mixed through the cast, or, for the richest finish, rub a wax paste onto the dry piece with a glove, sponge or brush and leave it about 15 minutes.
True terrazzo uses small Jesmonite® chips you make yourself: spread a thin layer of Jesmonite® on a silicone mat, plastic or paper, let it dry for 20 to 30 minutes, then break it into chips and fold them into a fresh mix. Sand the demoulded piece while it is still soft, then seal it once cured to bring the colours out. StoneRoxx and GlassRoxx are ready-made, slightly more natural alternatives. See our terrazzo effect guide for the full method.
Lena turns raw casts into pieces you want on your shelf, and pins everything she makes. Part of the Gigacrea maker team.