Projects

How to Make a Jesmonite® Lamp: Step-by-Step Guide

Lena Verhoeven By Lena Verhoeven · 5 min read Beginner
How to Make a Jesmonite® Lamp: Step-by-Step Guide

Making your own Jesmonite® lamp is one of the most satisfying casting projects you can try – and one of the easiest to get right. You mix, pour, wait about half an hour, wire it up, and you have a designer lamp that’s completely your own, in exactly the colours you want. This step-by-step guide shows you how to make a Jesmonite® lamp from start to finish.

What you’ll learn
  • Everything you need to make a Jesmonite® lamp
  • Step 1 – Choose your shape and cable
  • Step 2 – Weigh and mix your Jesmonite®
  • Step 3 – Pour and tap out the bubbles
✓ Beginner-friendly Step-by-step No special tools needed
What you’ll need
Your checklist for this project. Tick off what you already have.
The essentials, in one box
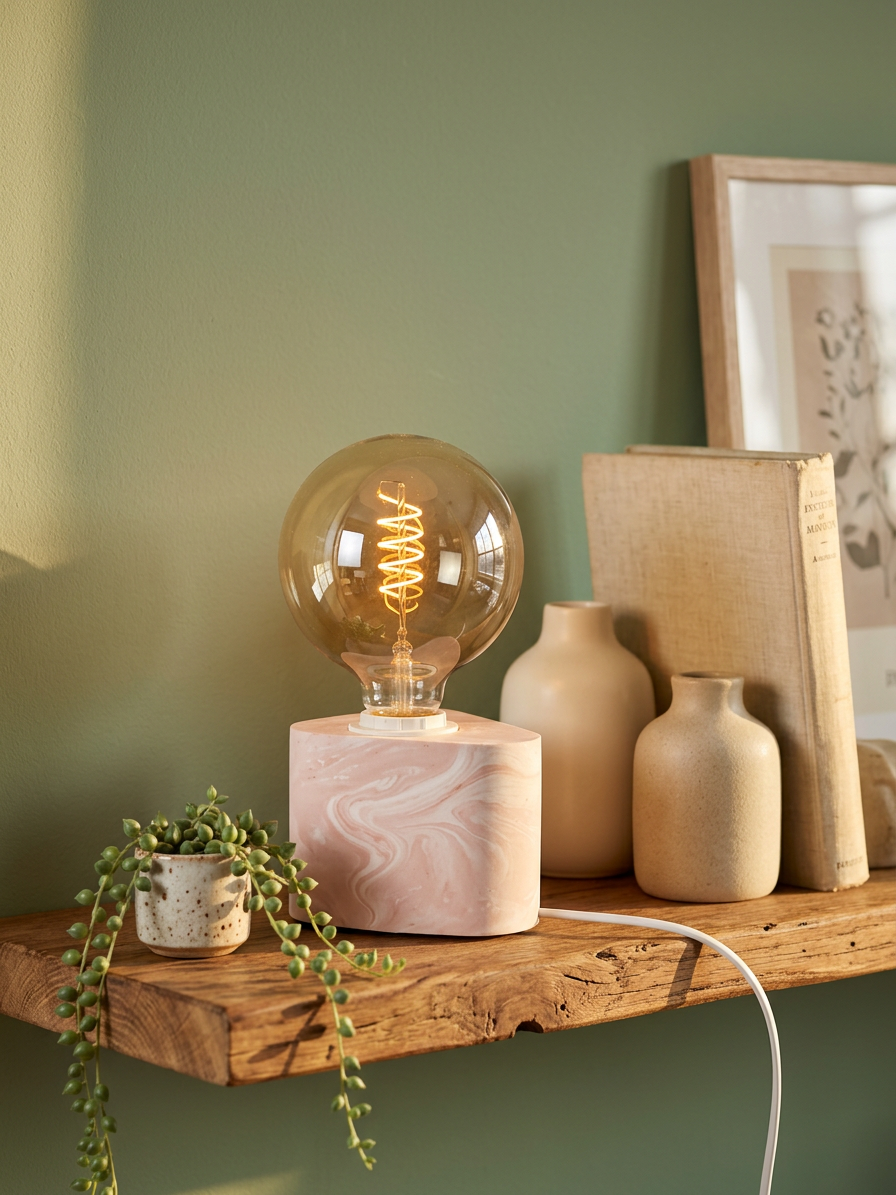
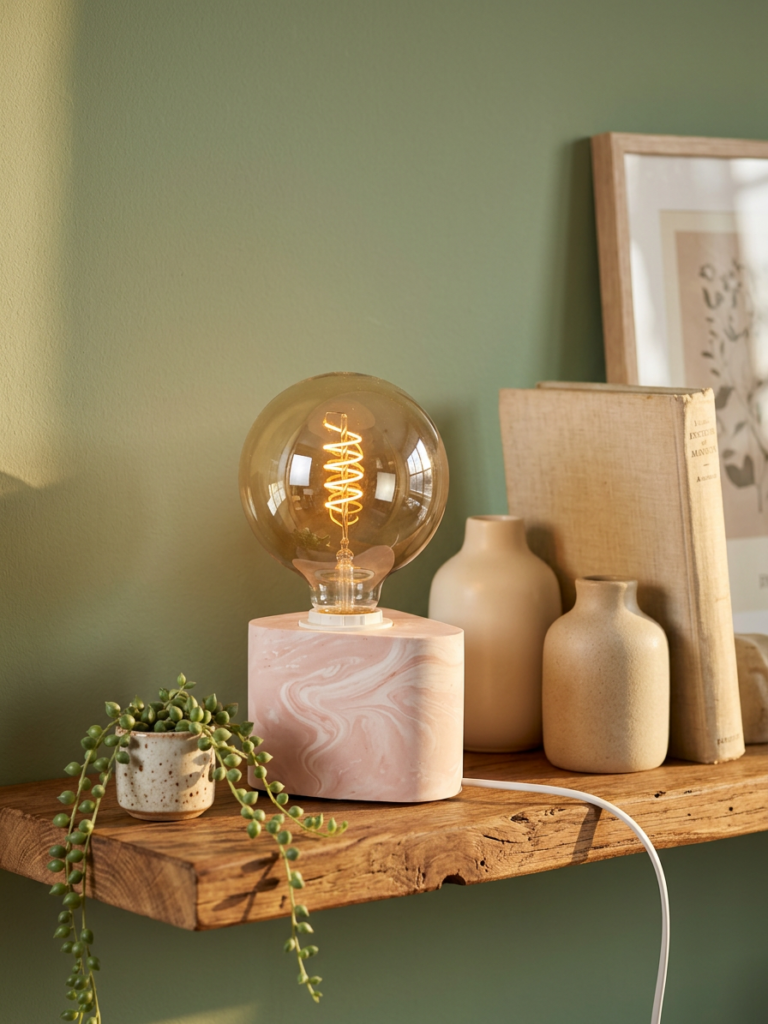
Finished Jesmonite lamp with a glowing bulb, styled on a shelf — make your own Jesmonite lamp DIY set Set - Make your own Jesmonite® lamp € 79,99 Choose
Add everything for this project · € 0,00
★★★★★ Excellent on Trustpilot Beginner-friendly, ships from Belgium Klarna
Already have the basics? Browse the full Jesmonite range.
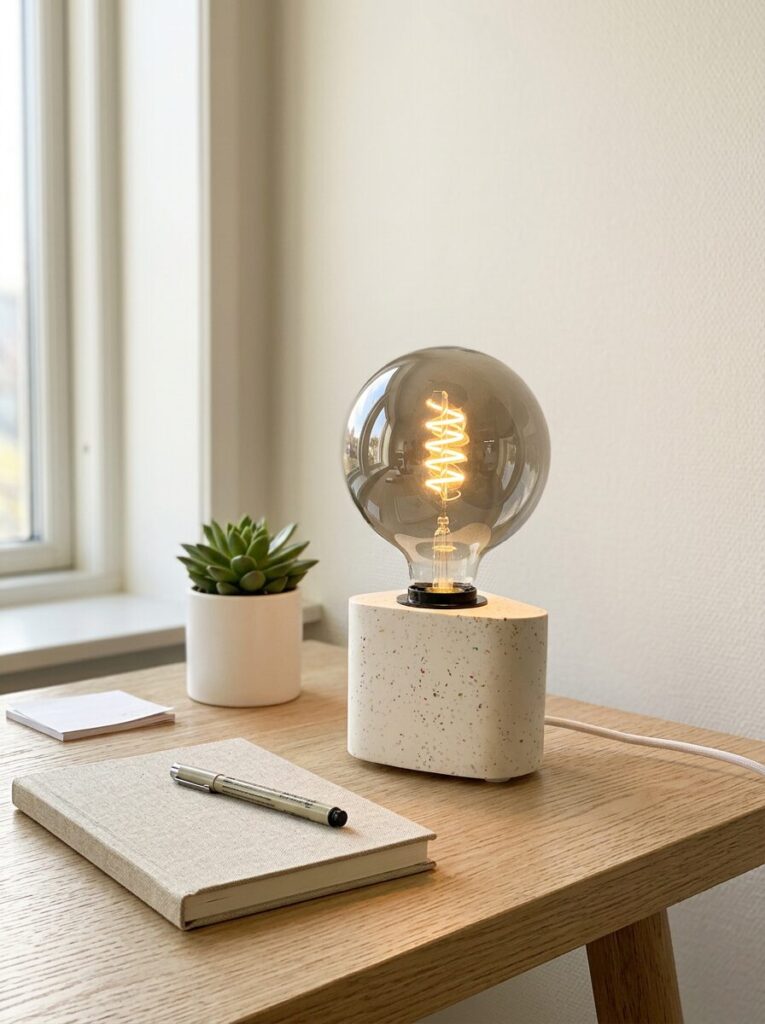
Cream terrazzo Jesmonite lamp lit on a desk

Everything you need to make a Jesmonite® lamp

Our Make-your-own Jesmonite® lamp set has the whole project in one box:

  • Light kit – E27 lamp holder + 1.8 m switch cable, in black or white
  • Reusable silicone mould – round or triangle (you keep it and cast again later)
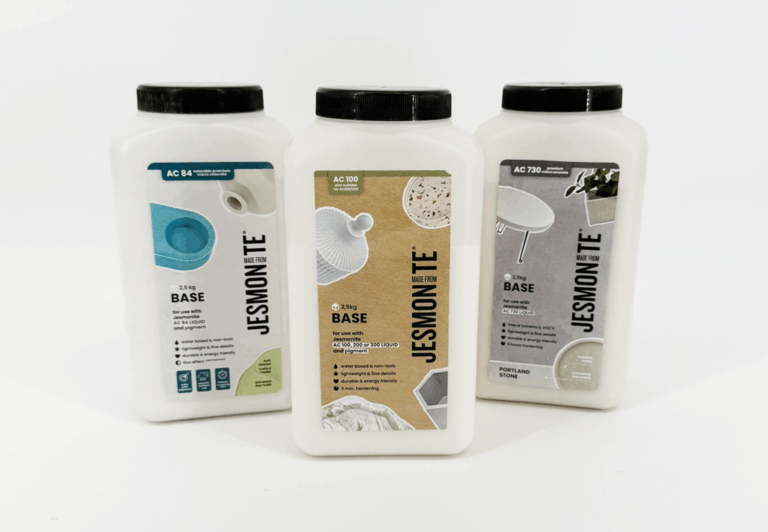
  • Jesmonite® AC100 duoset – liquid + base, the exact amount for one lamp base
  • Silicone feet to finish the underside neatly
  • A free spare lamp, so you’re covered if the first ever breaks

You’ll also want a mixing cup, a stirring stick and a scale – plus, optionally, a few water-based pigments if you want to colour your lamp.

1– Choose your shape and cable

Pick the round mould for a soft, timeless silhouette, or the triangle for a more architectural look. Then choose your cable colour to suit the colour you’re going to pour – black for bold contrast with darker or richly-coloured casts, white to blend in with pale, pastel or white bases.

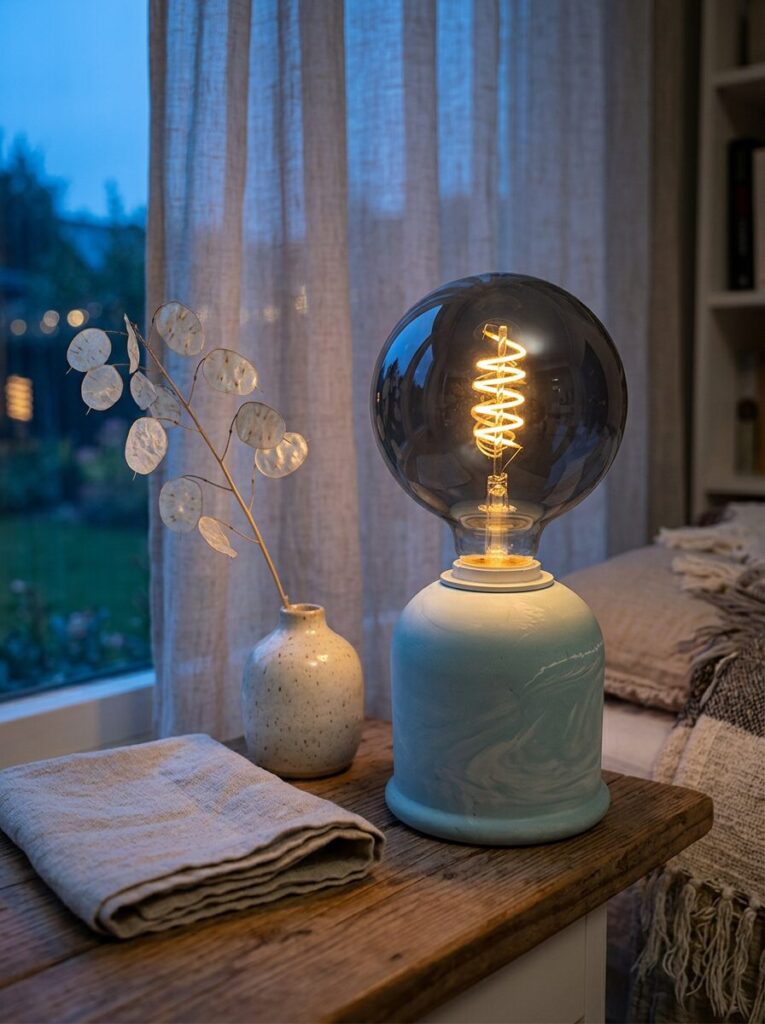
Round marbled Jesmonite lamp lit on a windowsill
Round
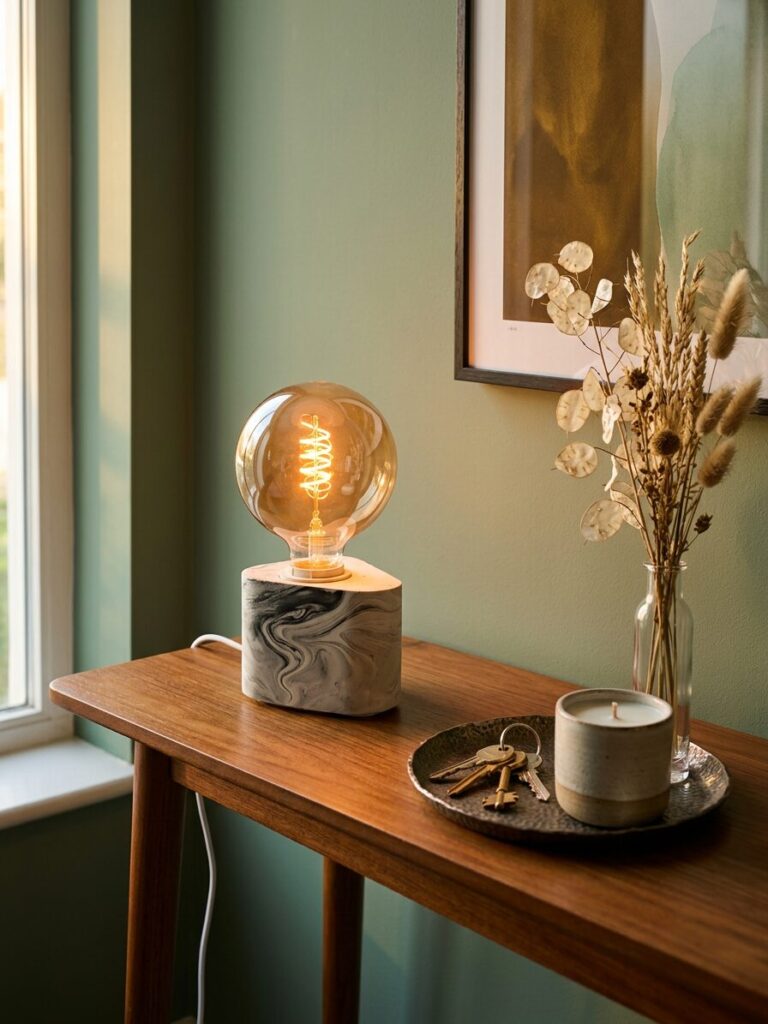
Triangle marbled Jesmonite lamp lit on a console table
Triangle

2– Weigh and mix your Jesmonite®

Jesmonite® AC100 mixes at a ratio of 1 : 2.5 (liquid : base) by weight. For one lamp base you need 500 g liquid + 1.25 kg base – which is exactly the small AC100 duoset that comes in the kit, so you already have the right amount measured out for you.

💡 Adding GlassRoxx, StoneRoxx or terrazzo chips? You’ll need a little less Jesmonite®, because the additive takes up part of the mix. Work out the exact split with our free Jesmonite® calculator.

It’s water-based and low-odour, so no gloves needed.

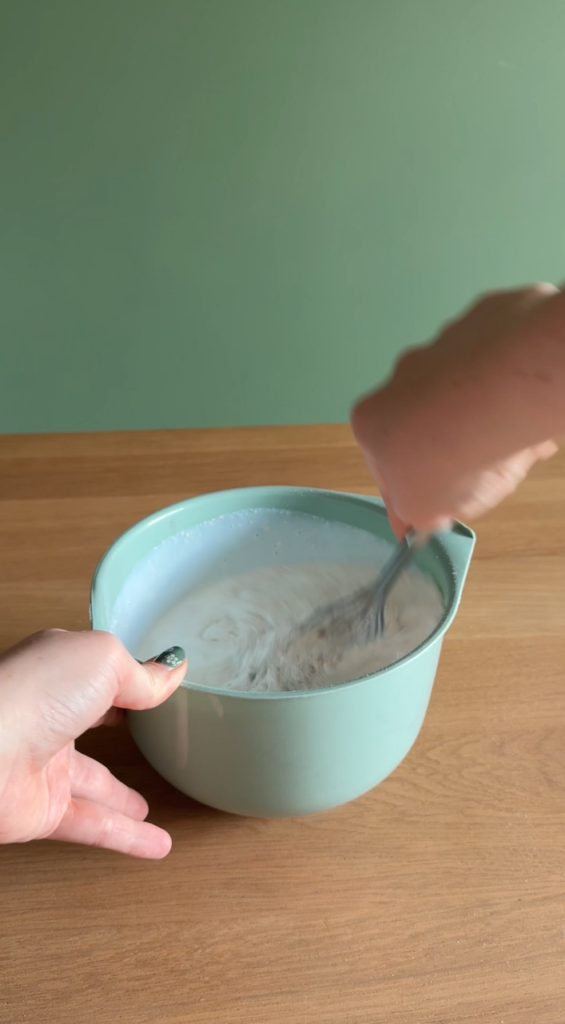
  • Weigh out the liquid, add the base, and stir until smooth and lump-free.
  • You have a comfortable 10–15 minute working window – no need to rush.
  • Want colour? Add water-based pigment, up to 2% of the total mix weight. For a marble effect, add a few drops and swirl gently – the trick is don’t over-mix.
Mixing Jesmonite for a lamp base

3– Pour and tap out the bubbles

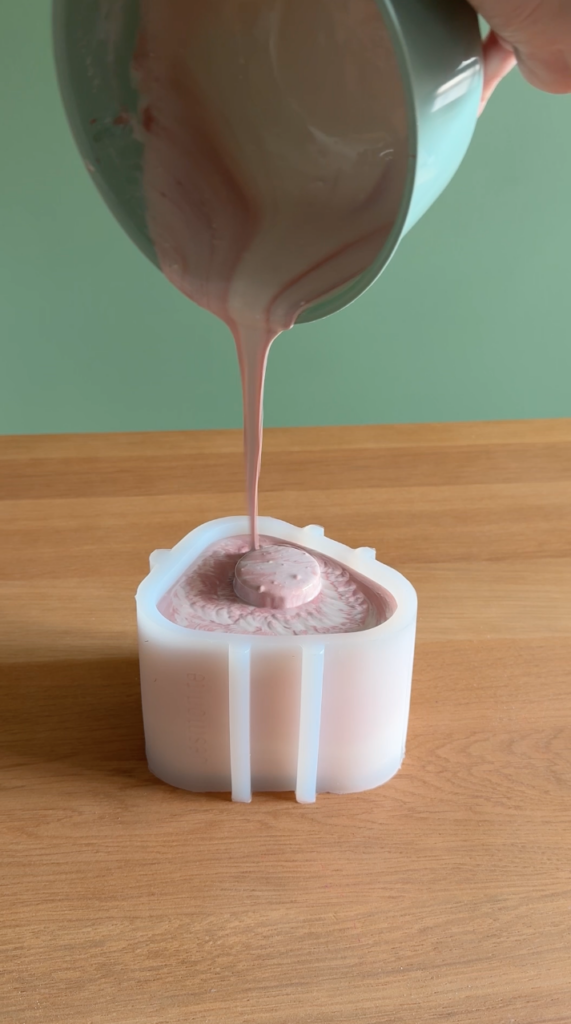
Pour your mix into the mould, then tap the sides firmly for 20–30 seconds to bring trapped air to the surface. This is what gives you a clean, bubble-free finish.

Pouring Jesmonite into the lamp mould

4– Let it set (about 30 minutes)

AC100 is ready to demould after roughly 30 minutes. It will feel warm at this stage – that’s the normal setting reaction, not a problem. Quick test: press gently near the edge; if it holds its shape and doesn’t take a fingerprint, it’s ready.

5– Demould

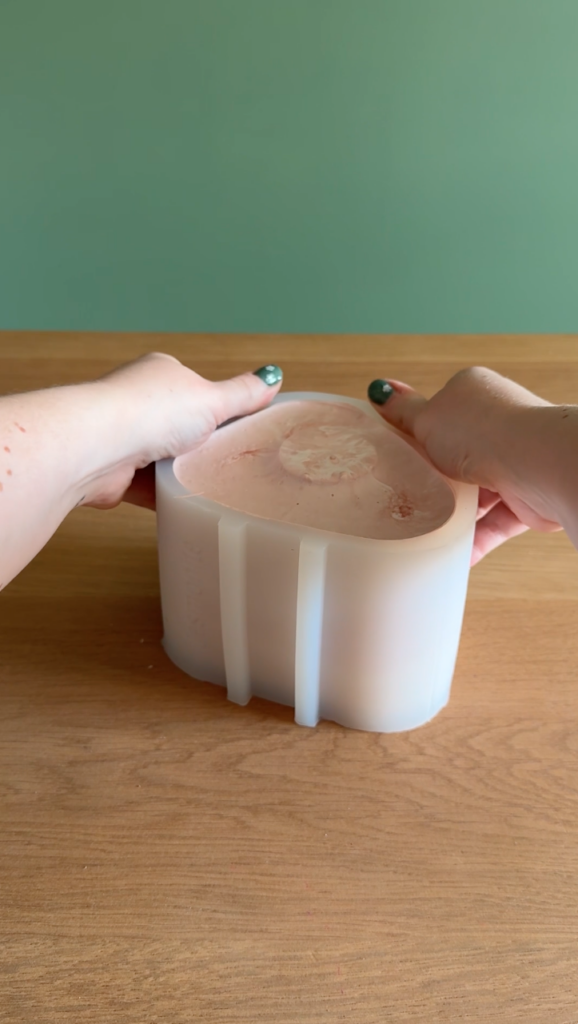
Flex the silicone mould and ease the base out. Our moulds are thick and high-quality, so it takes a firm, confident flex – a bit of a wrestle here is completely normal, and it’s exactly what gives you clean, sharp casts for years to come.

Releasing the cured Jesmonite lamp base from the mould

6– Sand (optional) and assemble

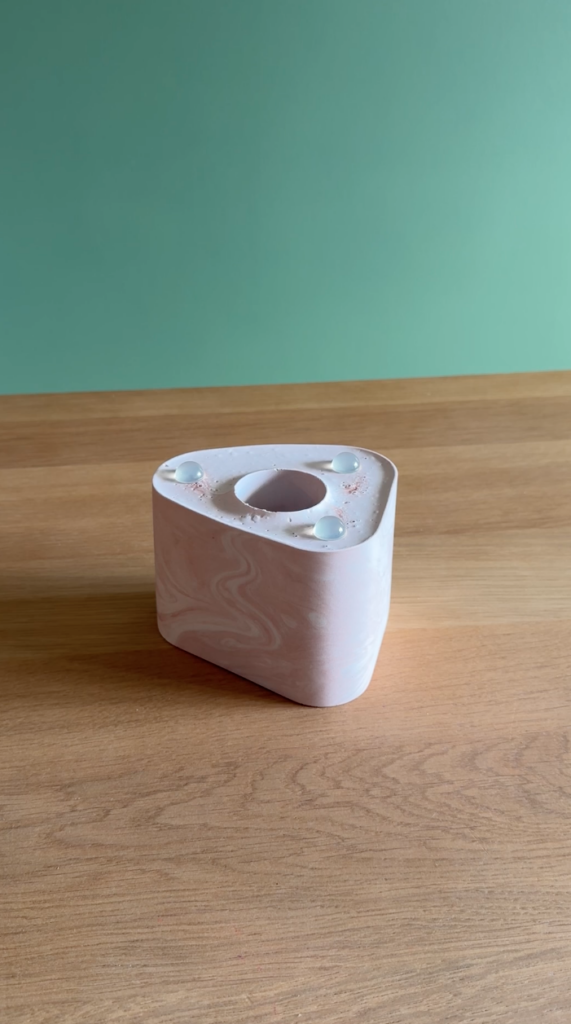
For a plain cast, sanding is optional – but for an ultra-smooth finish, sand while the piece is still fresh and soft, as it’s much easier now than once fully cured.

💡 Added GlassRoxx, StoneRoxx or terrazzo pieces? Then sanding isn’t optional – you’ll need to sand the cured surface to bring the speckle and chips through to the surface. A medium (P150) sanding pad is perfect for this.

Once you’re happy with the surface, it’s time to assemble your lamp:

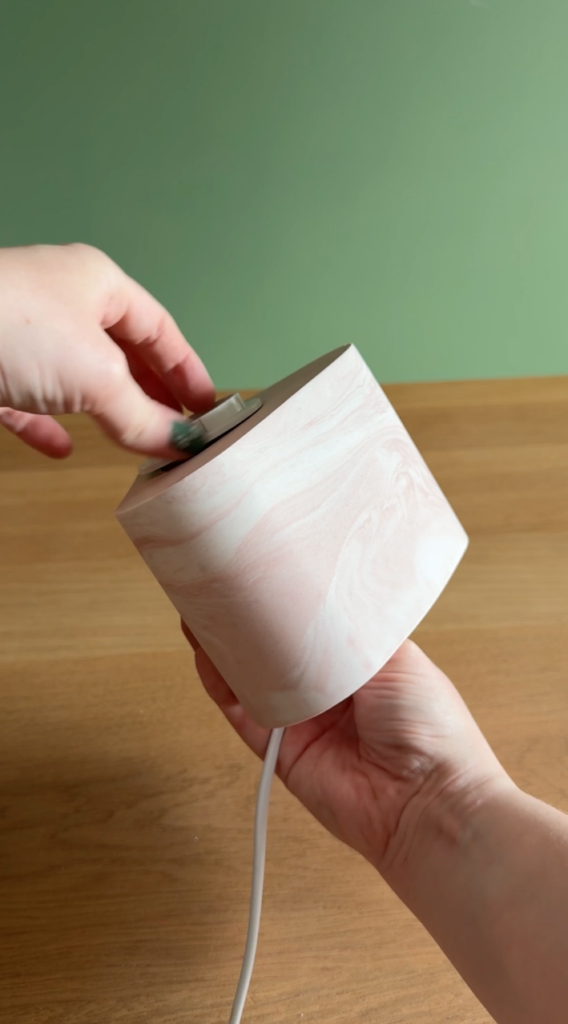
  1. Press the silicone feet onto the underside.
  2. Feed the cable up through the centre hole.
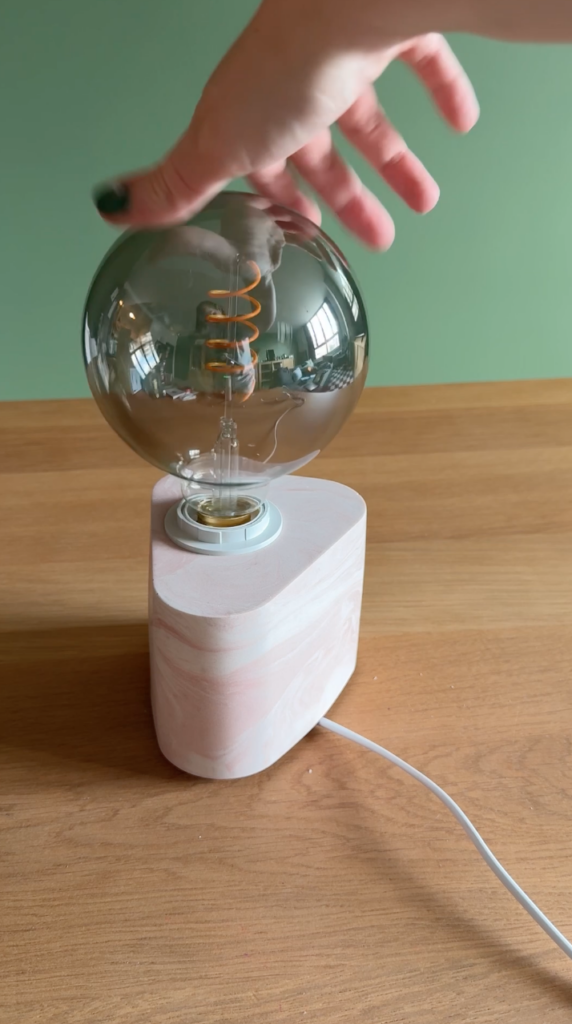
  3. Attach the lamp holder and add your bulb on top.
Adding the silicone feet to the Jesmonite lamp base
1. Add the feet
Feeding the cable through the Jesmonite lamp base
2. Feed the cable
Adding the bulb to the finished Jesmonite lamp
3. Add the bulb

7– Find its place

And that’s it – your lamp is finished! Find a spot for it in your living space – a shelf, a bedside table or a console – switch it on and enjoy the warm glow. Just handle it gently for the first 24 hours, while the Jesmonite® fully cures.

Tips for a professional finish

  • Marbling: less is more – under-mix your pigment so the swirls stay distinct.
  • One base, one afternoon: the kit makes one lamp base (the second lamp is a free spare bulb unit).
  • Make more: the silicone mould is reusable, so you can cast lamp after lamp – just grab another small AC100 set (AC100SET-1750gr) plus a cable and lamp holder, and you’re ready to make another one.
  • Indoor piece: AC100 is an indoor material – perfect for a living-room or bedside lamp.
  • Want a rougher, concrete look? Cast your lamp in AC84 or AC730 instead – these cement-based Jesmonite® variants can be sanded or acid-etched (or gently etched with household vinegar) for a raw, stone-like finish.

Make it yourself

Everything from this guide in one basket: Set - Make your own Jesmonite® lamp.

Finished Jesmonite lamp with a glowing bulb, styled on a shelf — make your own Jesmonite lamp DIY set
Add the essentials · € 79,99

★★★★★ Rated Excellent on Trustpilot

Lena Verhoeven
Written by Lena Verhoeven Projects & styling editor

Lena turns raw casts into pieces you want on your shelf, and pins everything she makes. Part of the Gigacrea maker team.

Free: the Beginner’s Guide to Jesmonite (PDF)
Mix ratios, quantities and a full first project, straight to your inbox.
−10% Plus 10% off your first order
Finished Jesmonite lamp with a glowing bulb, styled on a shelf — make your own Jesmonite lamp DIY set Set - Make your own Jesmonite® lamp€ 79,99 Add
Updating…
  • Nothing here yet.

Nothing here yet. Every maker starts somewhere.

Pick a starter kit with everything for your first cast, or let the beginner guides walk you through it.

Shop the starter kits Read the beginner guides