Nothing here yet. Every maker starts somewhere.
Pick a starter kit with everything for your first cast, or let the beginner guides walk you through it.
Shop the starter kits Read the beginner guides
 By Lena Verhoeven
·
7 min read
Beginner
By Lena Verhoeven
·
7 min read
Beginner
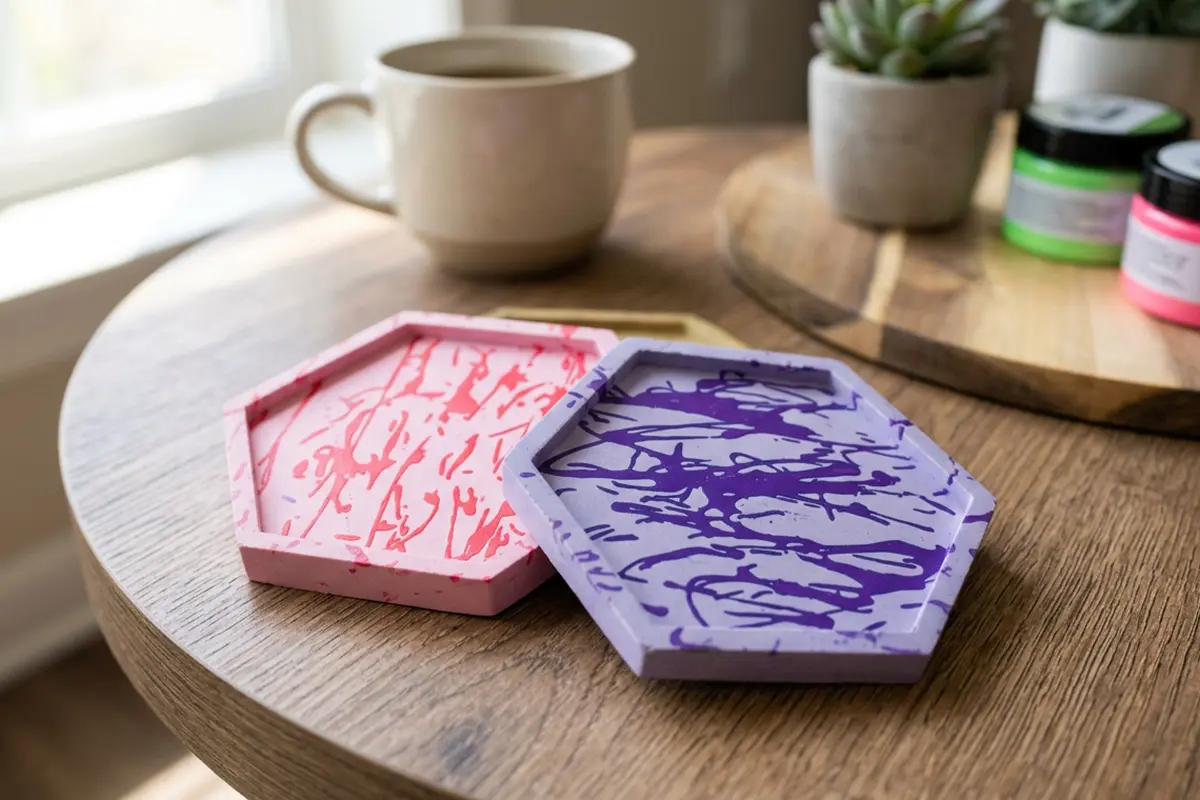
Coasters are the perfect first Jesmonite® project: small, forgiving and finished in an afternoon. If you have never cast before, learning how to make Jesmonite® coasters teaches you every core skill (weighing, mixing, colouring and sealing) on a piece you will actually use every day.
 Jesmonite® starter kit - Round coasters
Base, liquid, mixing basics and the coaster mould included
€ 19,99
Add
Jesmonite® starter kit - Round coasters
Base, liquid, mixing basics and the coaster mould included
€ 19,99
Add
 Jesmonite sealers satin - 50recommended
Small satin sealer, protects against water and daily use
€ 9,99
Add
Jesmonite sealers satin - 50recommended
Small satin sealer, protects against water and daily use
€ 9,99
Add
Not sure how much to mix? Use our free Jesmonite® calculator — enter the water weight of your mould and it gives you the exact liquid and base amounts.
This guide walks you through the whole process from empty mould to a sealed, drink-ready coaster. Follow the steps in order and you will end up with a smooth, durable set that shrugs off wet glasses.
You do not need a full workshop. Here is the short shopping list for a set of coasters:
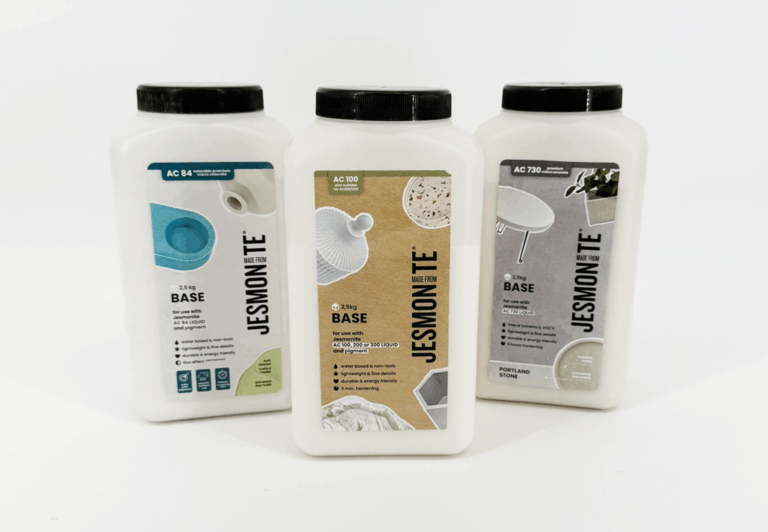
If you would rather not source everything separately, an AC100 starter kit bundles the Jesmonite® base, Jesmonite® liquid and essentials so you can start straight away.
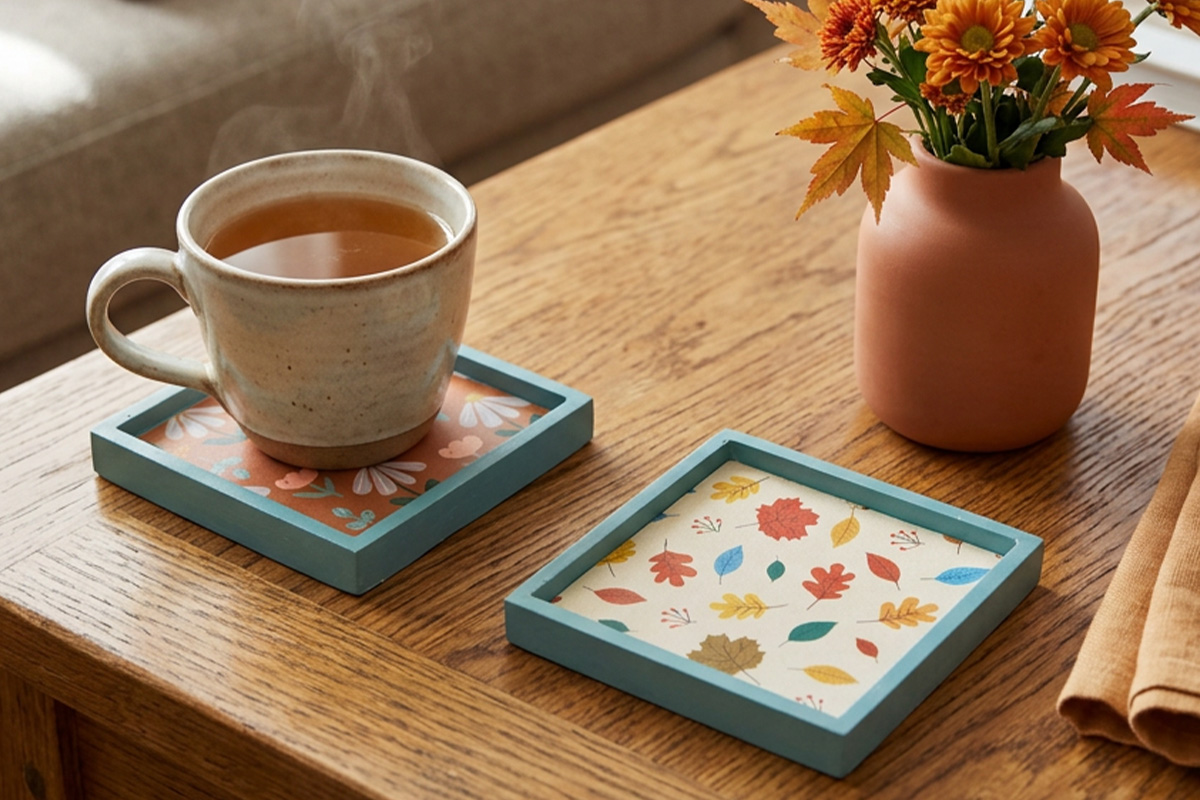
Good preparation is what separates a crisp coaster from a bubbly, chalky one. Take a few minutes here before you mix anything.
Work out how much you need. With AC100, measure the amount of water it takes to fill your empty mould, then add about 10% as spare (some mix always stays behind in the cup). Divide that figure by 2 to get your Jesmonite® liquid amount, then multiply the Jesmonite® liquid by 2.5 to get your Jesmonite® base powder. Repeat for the number of coasters you are casting. For a full walkthrough, see our guide on how much Jesmonite® you need.
Check the ratio. AC100 mixes at 1:2.5 by weight, meaning 1 part Jesmonite® liquid to 2.5 parts base powder. The calculation above already gives you both figures; if you want to sense-check quantities, most of our own mould product descriptions list the amount you need, or you can use an online Jesmonite® calculator or the Jesmonite® app.
Set up your space. Make sure the mould sits level so the coasters cure to an even thickness. Have your pigment, stirring stick and a toothpick within reach, because once the Jesmonite® liquid and powder meet you have a comfortable working window of about 10 to 15 minutes (a little less if the room is above 25 °C).
Here is the core method. Work steadily and do not rush the mixing stage.
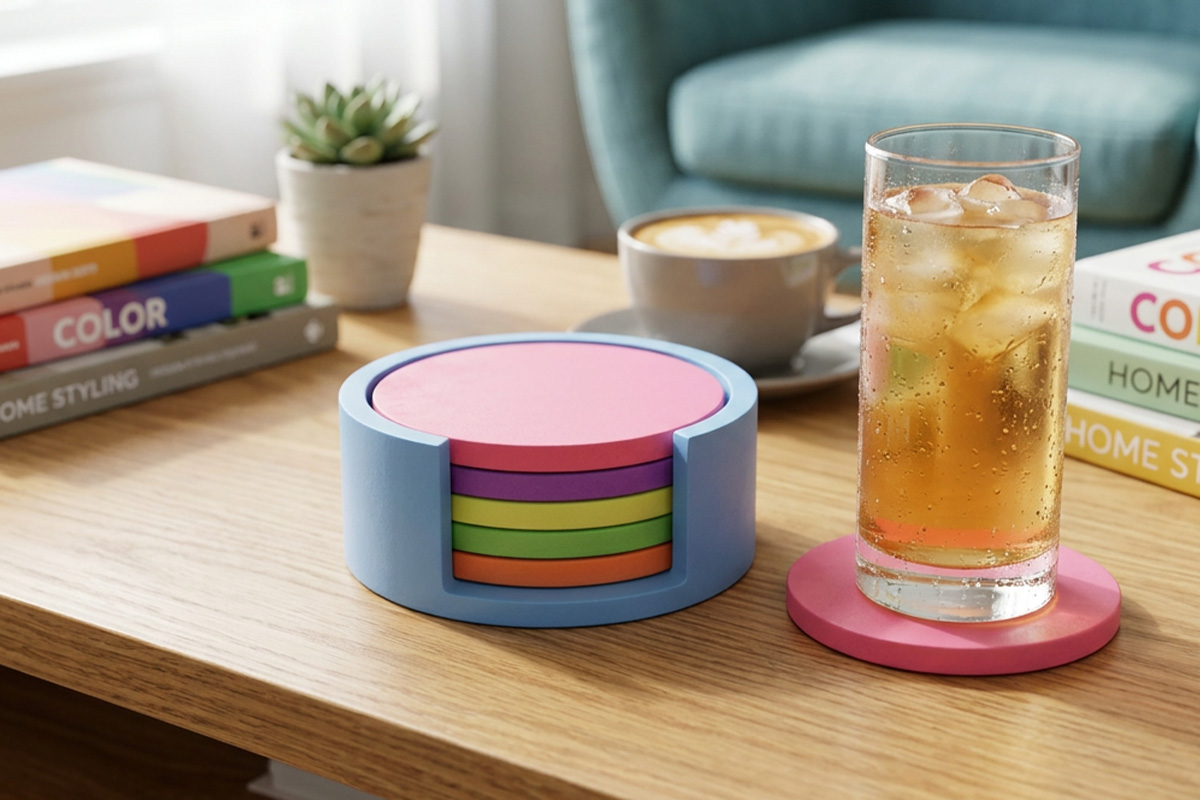
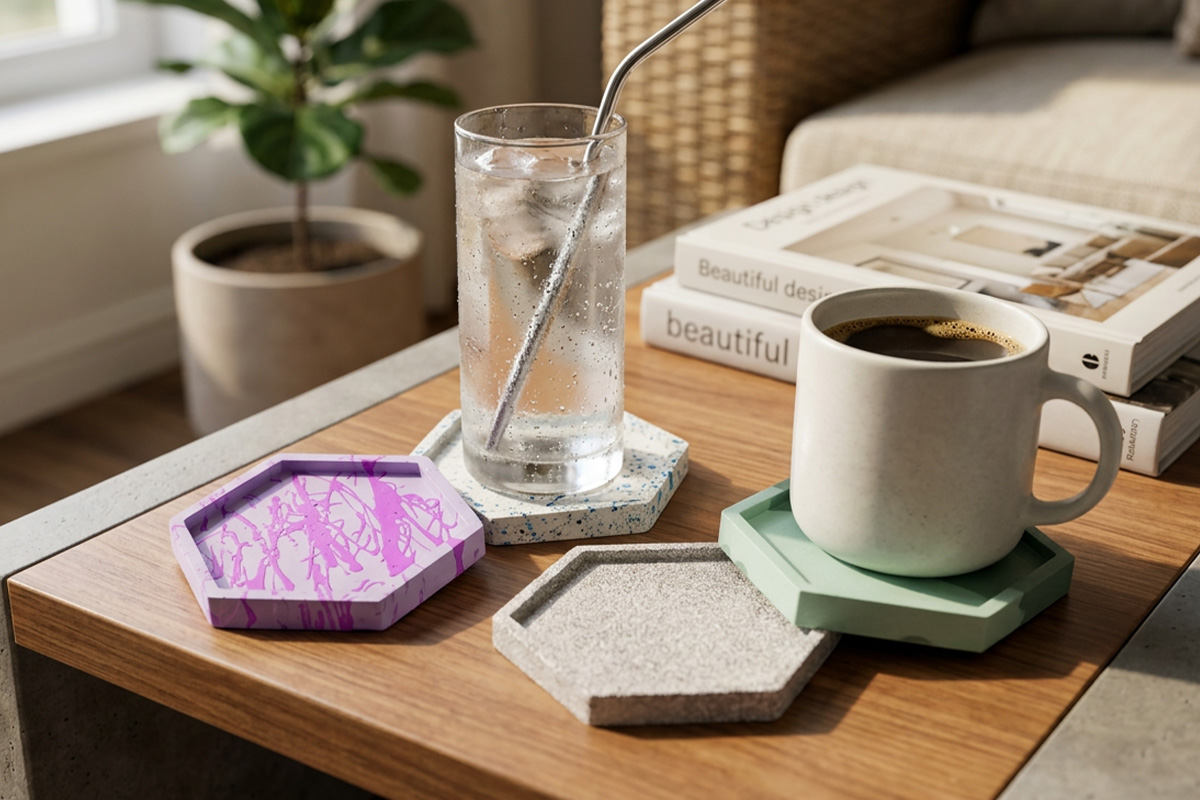
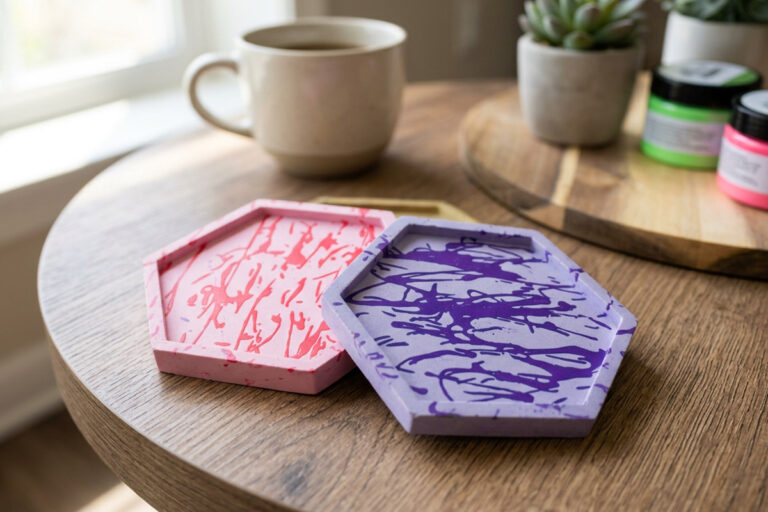
Plain coasters look great, but this is where you can have fun. A few ideas:
Keep pigment doses modest: you can add up to about 2% of the total mix weight in pigment, and beyond that it can affect how the cast sets. Because a little goes a long way, it is easy to add more but impossible to take it out.
This step matters more for coasters than almost any other project, because they meet wet glasses, condensation and the occasional spill.
As soon as you have demoulded, sand the edges and back smooth while the cast is still relatively soft and easier to work. Use P150 sandpaper wrapped around a sanding block, working evenly around each edge. If a coaster has rougher spots, start coarser and finish with P150 for a clean feel.
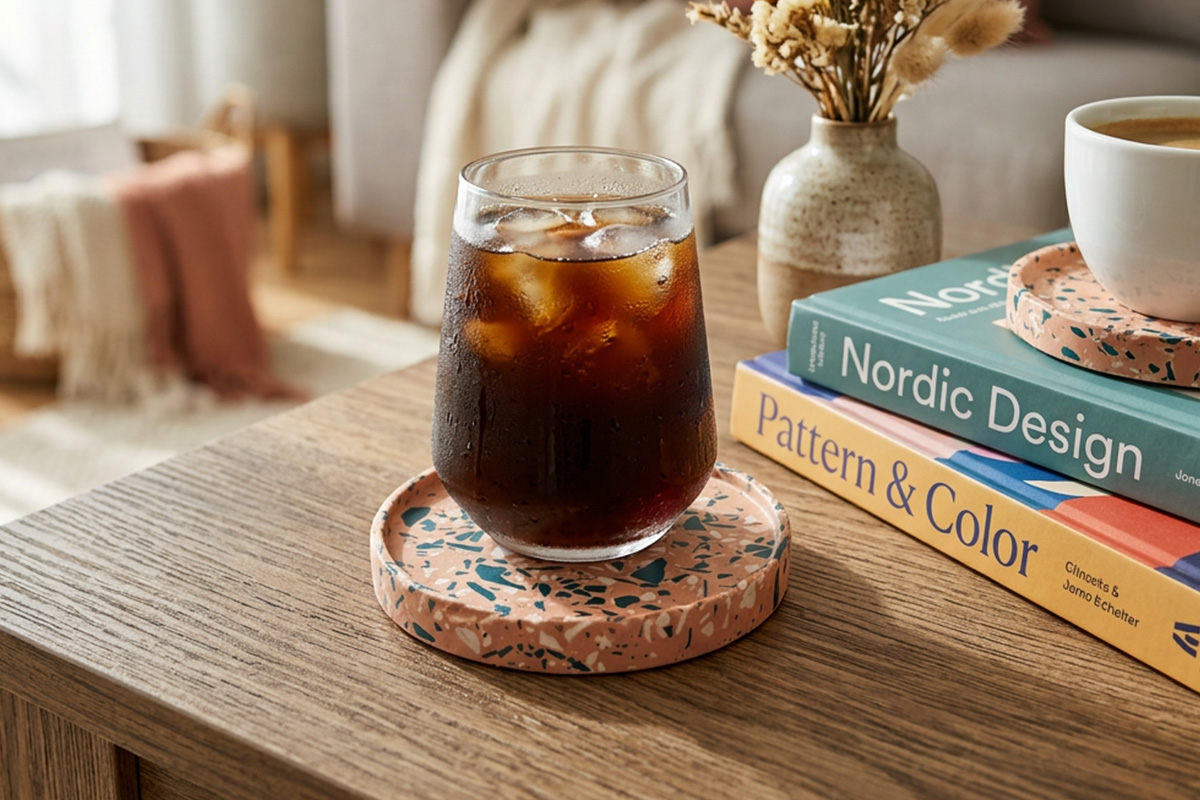
Then seal. Jesmonite® is porous, so an unsealed coaster will absorb moisture and can stain or mark from a cold, wet glass. Apply an acrylic sealer made for AC100, available in satin and gloss, in thin coats, letting each coat dry. Sealing gives you a wipe-clean, water-resistant surface that stands up to daily use. For indoor coasters, an acrylic satin or gloss sealer is the right choice; a penetrating sealer is aimed at outdoor, cement-based casts instead. For the full method (including the handy 50/50-with-water trick), see our guide to sealing Jesmonite®.
Ready to cast your own set? Pick a shape from the coaster & tray moulds, pair it with AC100 and your favourite pigments, and you can have a finished, sealed set ready by the weekend.
Everything from this guide in one basket: Jesmonite® starter kit - Round coasters, with the recommended extras optional.
★★★★★ Rated Excellent on Trustpilot
The active work is quick. AC100 demoulds after about 30 minutes, so you can cast and release a set in well under an hour. Sand them soon after demoulding, while the cast is still relatively soft, then let them cure fully for 24 hours before sealing, so plan for about a day from start to finished, drink-ready coasters.
Yes. Jesmonite® is porous, so coasters should be sealed before they come into contact with drinks. An acrylic sealer (satin or gloss) designed for AC100 gives you a water-resistant, wipe-clean surface that resists staining from wet glasses and condensation.
A chalky or soft result almost always comes down to the mix ratio or inaccurate scales. Too much Jesmonite® liquid leaves the cast soft and chalky; too little makes it thick and fast-setting. Weigh both parts accurately on digital scales and stick to the AC100 ratio of 1 part Jesmonite® liquid to 2.5 parts base powder by weight.
Mix thoroughly, then pour slowly in a thin stream from around 10 cm high. The main thing is to tap and vibrate the mould so bubbles rise, and pop any that reach the surface with a toothpick. Only for moulds with a lot of fine detail, you can first brush a thin layer into the cavity, but for most pieces this isn’t needed. For more detail, see our guide on preventing and fixing air bubbles.
Lena turns raw casts into pieces you want on your shelf, and pins everything she makes. Part of the Gigacrea maker team.