Nothing here yet. Every maker starts somewhere.
Pick a starter kit with everything for your first cast, or let the beginner guides walk you through it.
Shop the starter kits Read the beginner guides
 By Lena Verhoeven
·
7 min read
Beginner
By Lena Verhoeven
·
7 min read
Beginner
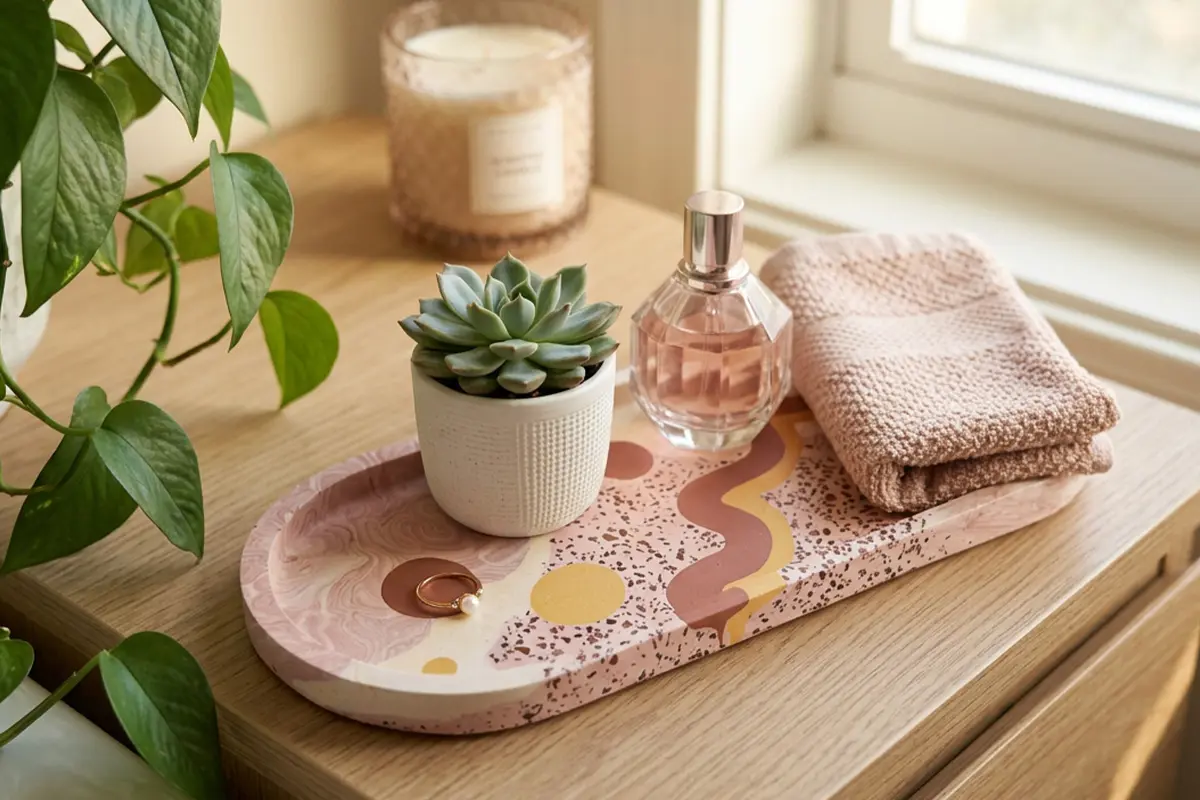
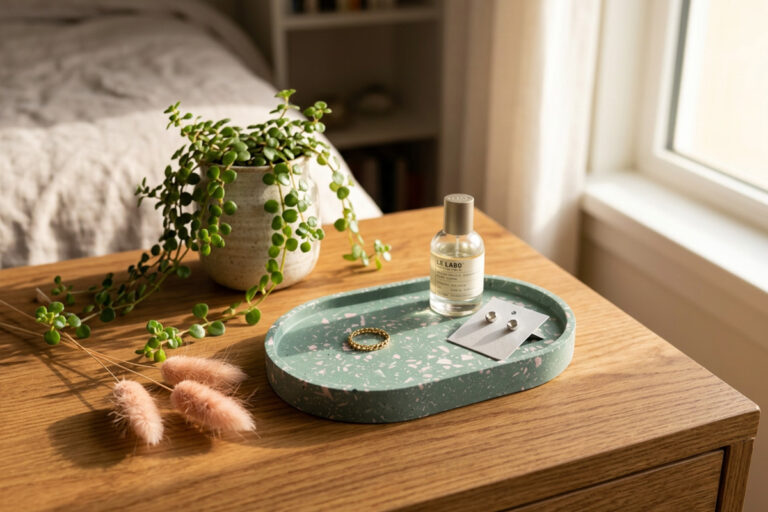
A Jesmonite® tray is one of the most satisfying first projects you can cast. It looks great on a coffee table, dressing table or bathroom shelf, and it is far more forgiving than it looks. In this guide you will learn how to make a Jesmonite® tray from start to finish: choosing a mould, mixing and casting, creating a marble or terrazzo effect, and finishing it off with sealing, feet or handles.
Not sure how much to mix? Use our free Jesmonite® calculator — enter the water weight of your mould and it gives you the exact liquid and base amounts.
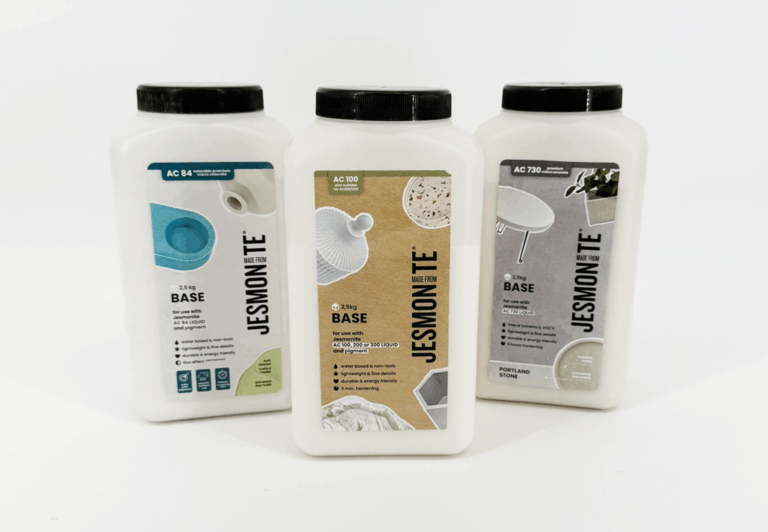
Jesmonite® is a water-based, two-part material, a mineral Jesmonite® base powder plus a liquid acrylic. It is non-toxic and solvent-free, so it is a friendly material to work with at your kitchen table. For a decorative indoor tray, AC100 is the go-to choice.
The mould does most of the design work for you, so this is where to start. Trays come in round, oval, square and rectangular shapes, with shallow rims for trinkets or deeper walls for serving. A shallow catch-all is the easiest first cast; a deeper serving tray needs a little more mix and a slightly longer set.
Browse the dedicated coaster and tray moulds and pick a shape that suits where the tray will live. Silicone moulds release easily and give a smooth finish, which keeps the finishing work to a minimum. If you also want matching coasters, casting them from the same range ties the set together, see our coasters guide.
You do not need a workshop full of kit. Gather this before you mix, because once mixed you have a comfortable working window of about 10 to 15 minutes and will not want to hunt for a spatula halfway through.
If you would rather have everything matched and measured in one box, an AC100 starter kit is the simplest way in and takes the guesswork out of your first pour.
Before you mix, work out how much you need. For AC100, fill the empty mould with water to measure the volume it holds, then add about 10% spare since some mix always stays in the cup. Divide that amount by 2 to get your Jesmonite® liquid, then multiply the liquid by 2.5 to get your Jesmonite® base powder. Many of our own mould product descriptions also list the amount you need, and an online Jesmonite® calculator or the Jesmonite® app will do the sums for you. For a full walkthrough, see our guide on how much Jesmonite® you need.
If your cast comes out soft or chalky, the cause is almost always too much Jesmonite® liquid or inaccurate scales; if it is thick and sets too fast, there was too little liquid. Weigh carefully and the material rewards you.
A plain tray is lovely, but a pattern turns it into a piece. Two effects are easy for beginners.
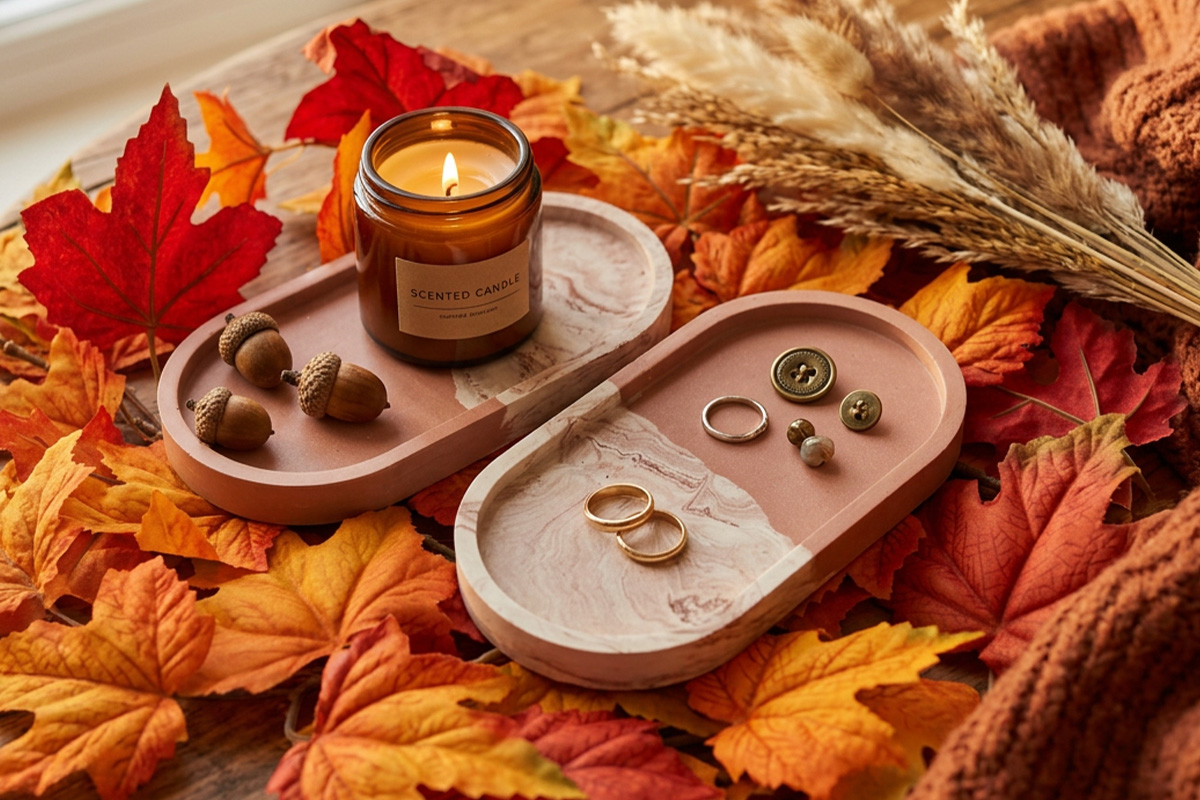
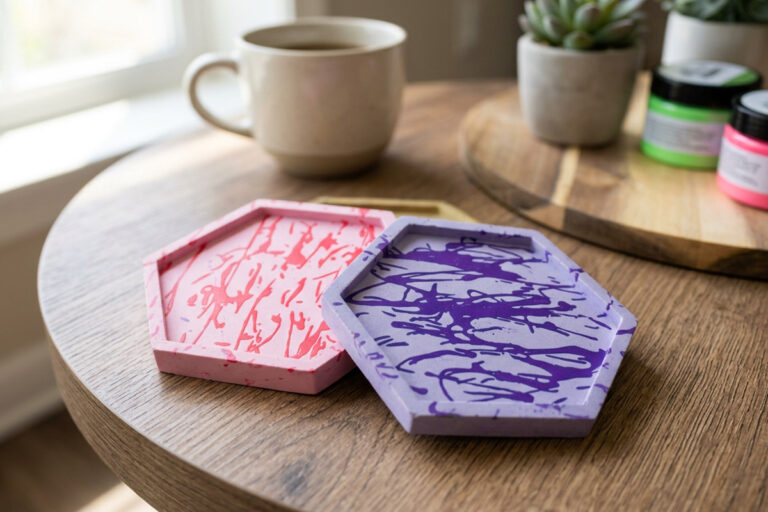
Mix your base tray colour, then mix a small second batch in a contrasting shade using a little liquid pigment, a little goes a long way. Pour the base into the mould, then drizzle the second colour on top and gently swirl with a toothpick or skewer. Stop while the veins still look natural, as over-mixing turns marble into mud.
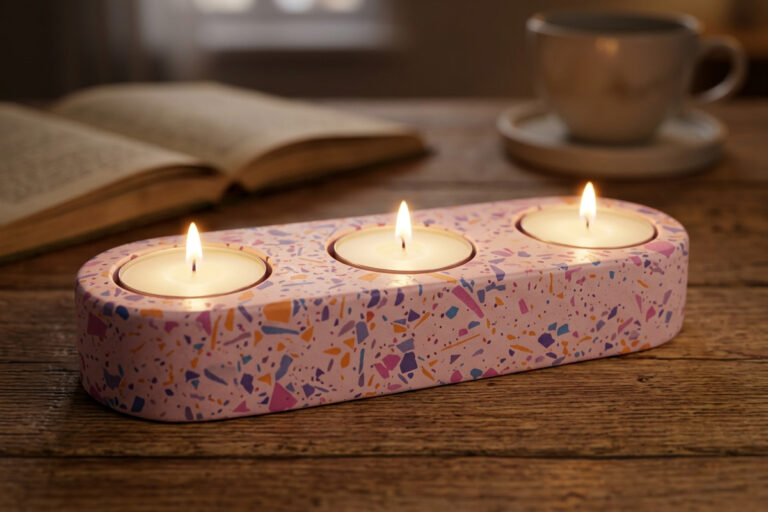
Real terrazzo uses small Jesmonite® chips you make yourself: cast a thin layer of Jesmonite®, let it dry and break it into little chips, then fold those chips into a fresh mix so they sit suspended through the tray (our terrazzo guide covers the full method). Ready-made alternatives such as GlassRoxx and StoneRoxx are not terrazzo themselves, but they give a similar terrazzo-like speckled look and fold into the mix the same way. Neon pigments are also available if you want a brighter, more playful finish. Whatever effect you choose, keep the colour amounts modest so you do not throw off the mix.
Sand the tray soon after demoulding, while it is still relatively soft and easy to work. Tidy the edges and sand any rough rims with a sanding block and P150 sandpaper, starting coarser with P80 first if there are sharp lines to knock back.
Jesmonite® is porous, so sealing matters, and it happens once the tray is fully cured. For any tray that will hold drinks, sit near a sink or catch the odd splash, brush on an acrylic satin sealer and let it dry fully before use. A gloss acrylic sealer works too if you prefer more shine. Sealing protects the surface and makes it easy to wipe clean. See our guide to sealing Jesmonite® for the method. For a purely dry trinket tray it is optional, but it still deepens the colour and gives a soft sheen.
To lift the tray off the surface, add small self-adhesive feet or cork pads to the underside; they also stop it scratching furniture. For handles, choose a mould with them built in, or fix simple metal or leather pulls to the sides once the tray is sealed. Keep any extras balanced so the tray sits level.
Ready to cast your first one? Pick a shape from the coaster and tray moulds, pair it with AC100 and a pigment or two, and you will have a finished tray this week. New to casting? Start with an AC100 starter kit and follow the steps above.
Everything from this guide in one basket: AC100 sets - 1750, with the recommended extras optional.


★★★★★ Rated Excellent on Trustpilot
For an indoor decorative tray, use AC100. It is beginner-friendly, non-toxic and made for homeware like trays, coasters and vases. If you want a stone or textured outdoor piece instead, look at AC730 or AC84 rather than AC100.
AC100 demoulds after about 30 minutes, but it is not fully hardened then. Sand it soon after demoulding while it is still relatively soft, then let the tray cure for 24 hours before sealing or using it, as it keeps getting stronger over that time.
Yes, if it will be near water or hold drinks. Jesmonite® is porous, so brush on an acrylic satin sealer and let it dry before use. For a dry trinket tray sealing is optional, but it still enriches the colour and adds a subtle sheen.
Planning to serve food or drinks on your tray? Read is Jesmonite® food safe? for how to finish it for food contact.
The main method is to tap and gently vibrate the mould after pouring so trapped air rises to the surface, then pop any that reach the surface with a toothpick. Pour slowly in a thin stream from about 10 cm up and mix the material thoroughly to begin with. Only for moulds with a lot of fine detail, you can first brush a thin layer into the cavity, but for most pieces this isn’t needed.
Lena turns raw casts into pieces you want on your shelf, and pins everything she makes. Part of the Gigacrea maker team.