Nothing here yet. Every maker starts somewhere.
Pick a starter kit with everything for your first cast, or let the beginner guides walk you through it.
Shop the starter kits Read the beginner guides
 By Lena Verhoeven
·
8 min read
Intermediate
By Lena Verhoeven
·
8 min read
Intermediate
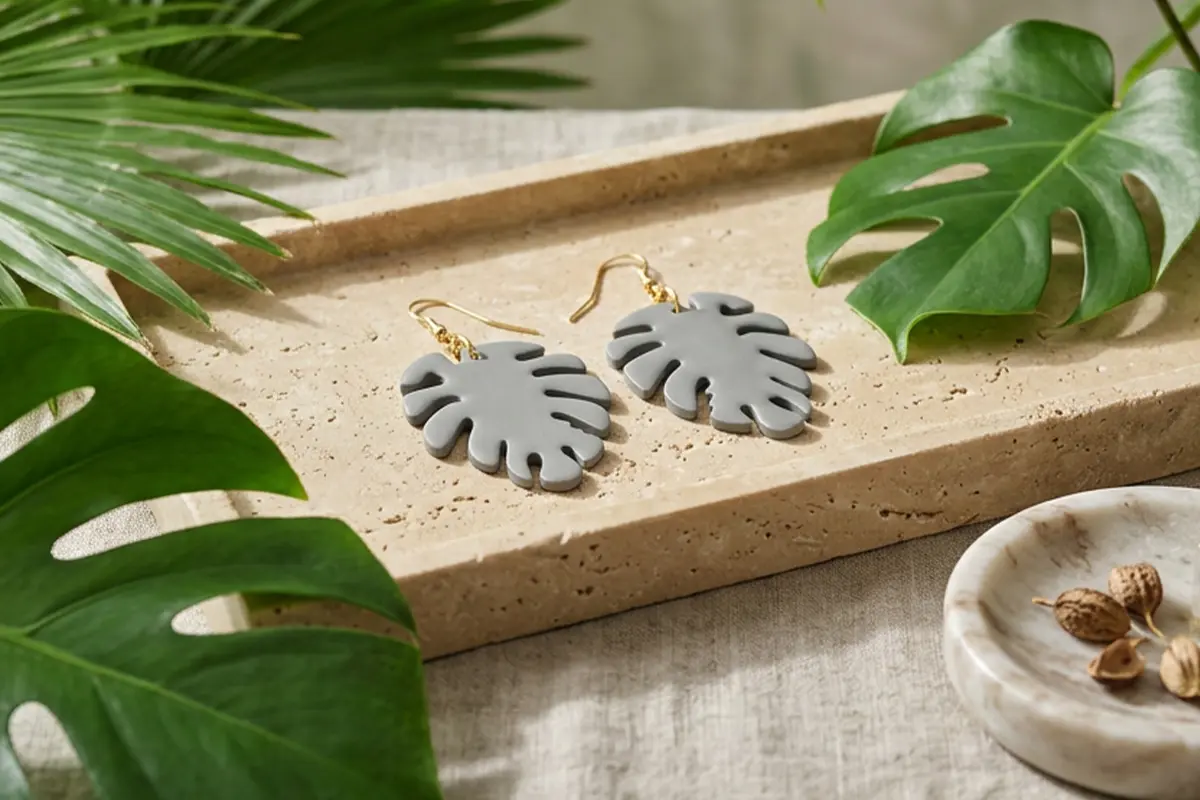
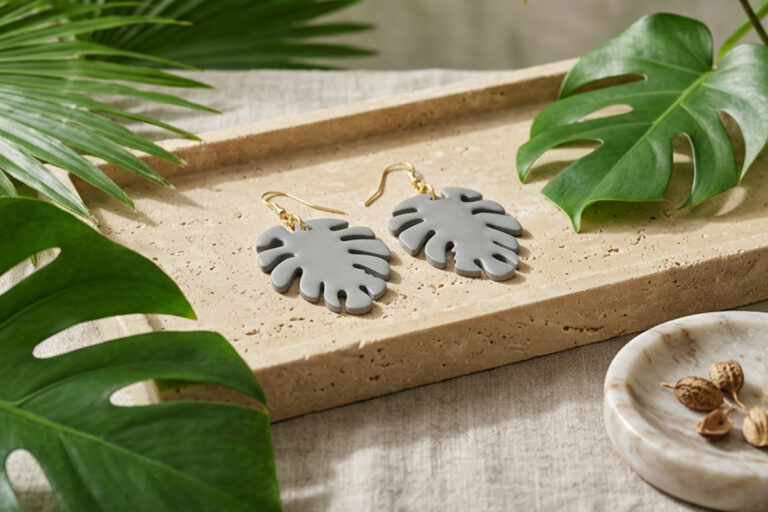
Jesmonite® is not just for trays and coasters. Its smooth finish, light weight and love of colour make it perfect for small, wearable pieces. In this guide you will learn how to make Jesmonite® jewellery from start to finish: choosing the right moulds, mixing and casting earrings or pendants, adding findings and finishing the edges so every piece looks shop-bought.
It is a lovely craft to start with because the pieces are small, the materials go a long way and you can experiment with colour on almost no budget. Ready to cast your first pair of earrings? Let us walk through it.
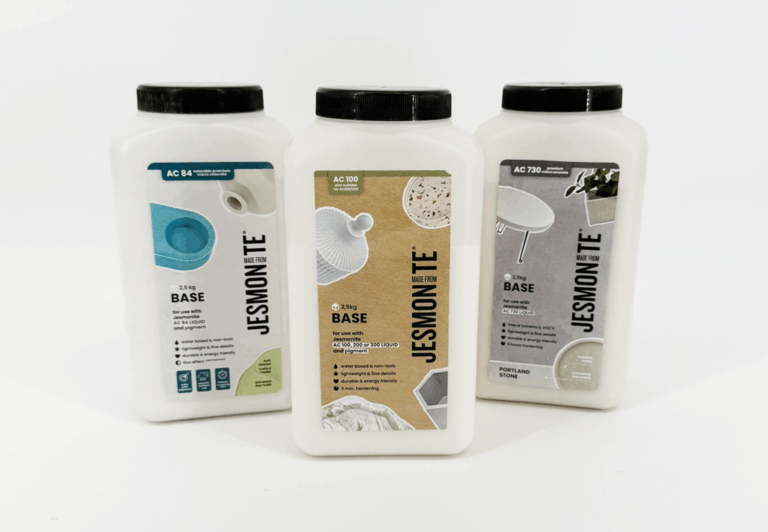
Jesmonite® AC100 is a water-based, two-part material: a mineral Jesmonite® base powder mixed with a liquid acrylic. It is non-toxic and free of solvents and VOCs, which matters when you are working at a kitchen table rather than a workshop. It sets quickly, takes pigment beautifully and gives you a matte, stone-like feel that suits terrazzo, marble and colour-block earrings.
For jewellery you want AC100 specifically. It is the beginner-friendly, indoor decorative option and it captures the fine detail of small moulds cleanly. You can explore the range on the AC100 page.
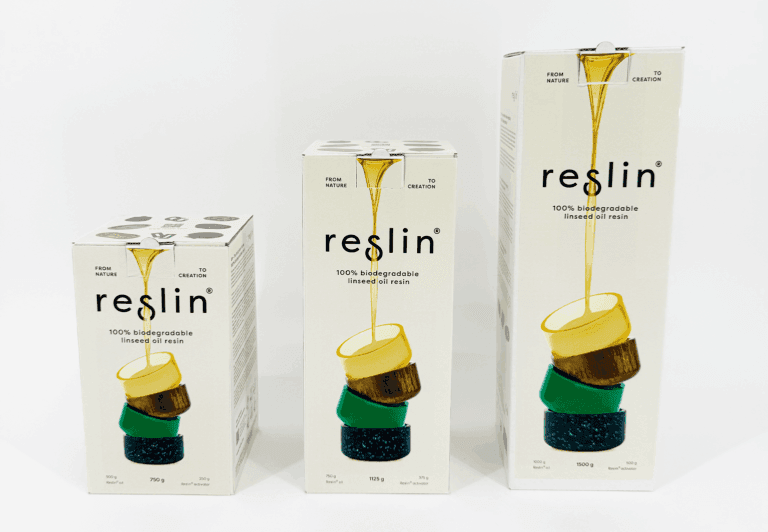
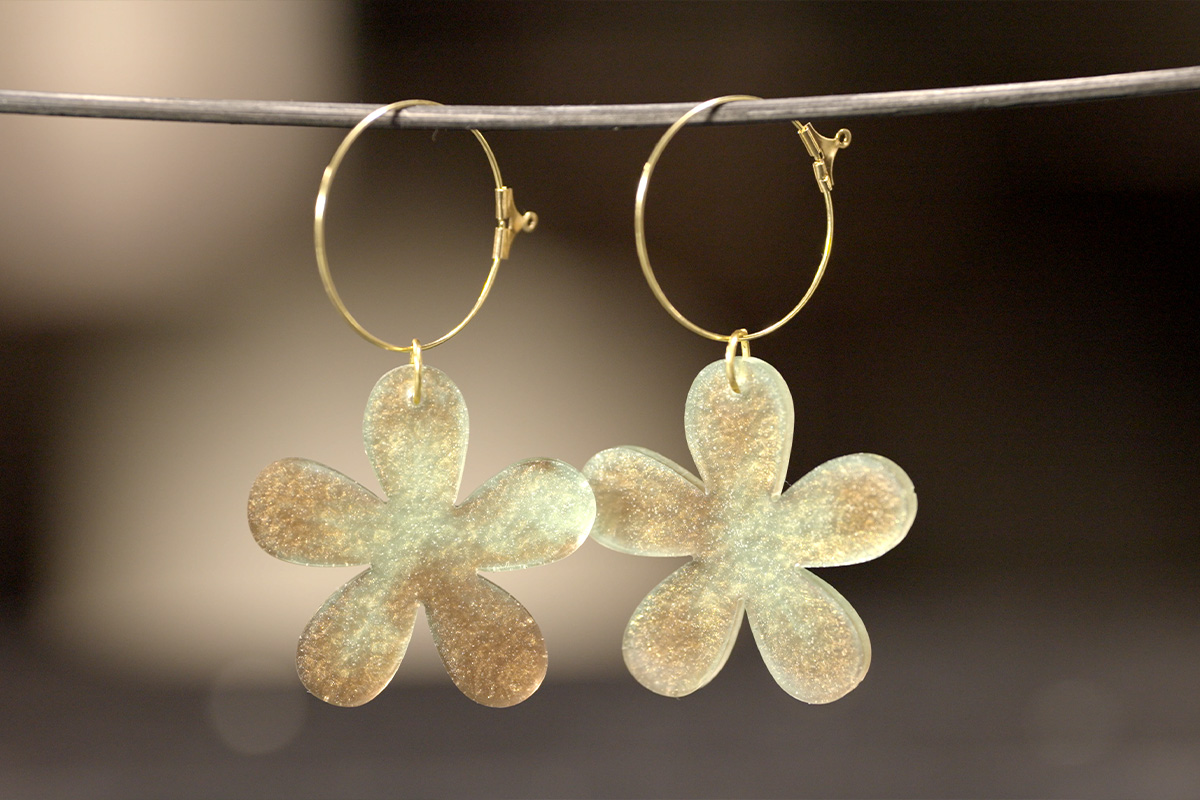
If you love translucent, see-through pieces or want to embed dried flowers, Reslin® is a lovely alternative. It is a 100% plant-based casting resin and the first 100% plant-based alternative to epoxy, made from linseed oil and an activator from sugar beet molasses. Natural Reslin® has a warm yellow tint and is see-through rather than water-clear like epoxy. It is best handled with gloves as it can be sticky, and it blends readily with pigments, dried flowers and fillers, so it opens up a whole different look for pendants and statement pieces. Learn more in our guide to what Reslin® is.
The mould shapes your piece, so this is where the fun starts. Silicone moulds made for small castings give you crisp edges and release easily. Look for shapes sized for earrings, studs, pendants and charms rather than homeware.
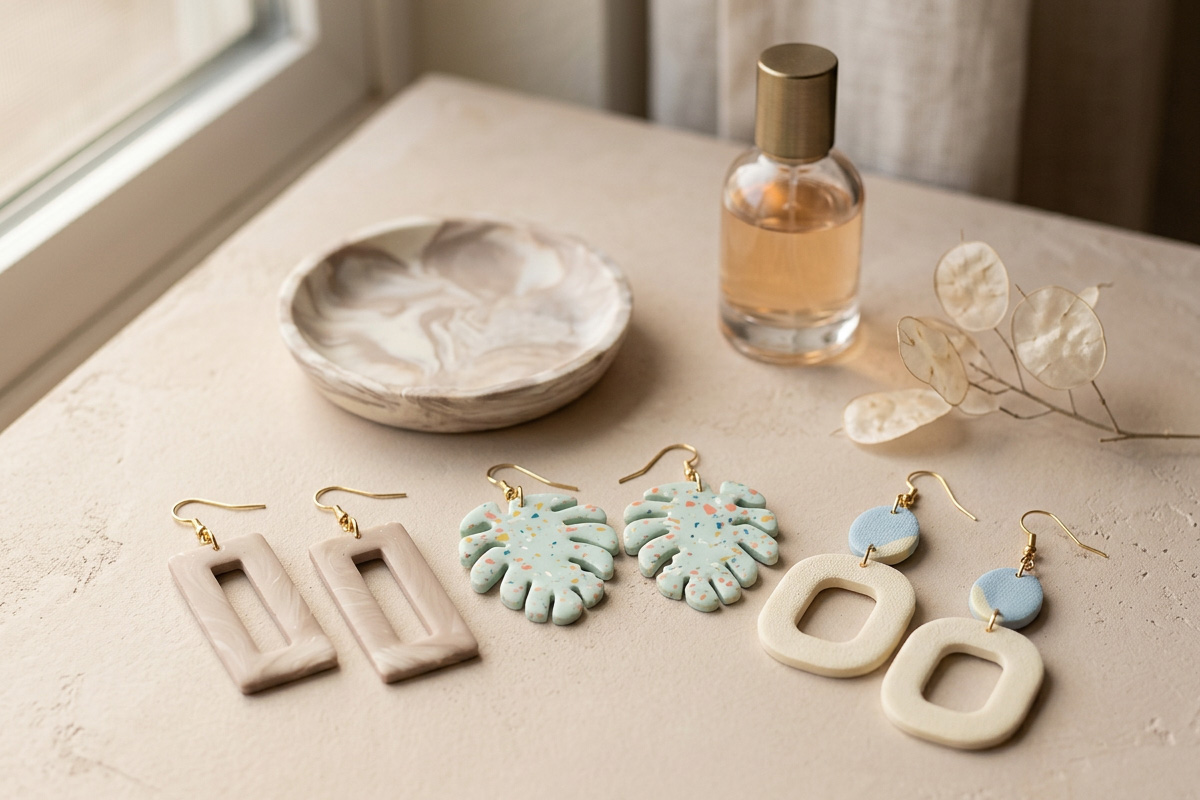
Browse the dedicated jewellery moulds to see what suits your style. A few things worth thinking about:
You do not need much to begin. Most of it fits in a small box on a shelf.
If you would rather not gather everything piece by piece, an AC100 starter kit pulls the essentials together in one go, which is the simplest way to get started.
Small pieces are forgiving, but a little care makes them look professional. Here is the routine.
Chalky or soft results almost always mean the mix ratio was off or the scales were inaccurate. Too much Jesmonite® liquid gives a soft, chalky cast; too little makes it thick and fast. Weigh carefully and you will avoid nearly every common problem.
This stage turns a little cast shape into a finished piece.
Finish the edges. Small castings often have a faint seam where the mould halves met. Sand it as soon as you can after demoulding, while the cast is still relatively soft and easy to work: start with a coarser grit to knock back any high spots, then move to a medium grit for a clean edge. A medium sandpaper is ideal for that final pass. Sand lightly and check often.
Attach the findings. Our jewellery moulds leave a small hole in each piece, so you can simply thread a jump ring through it and add your earring hook or pendant bail, no glue needed. Match your metal colour across a pair for a tidy finish.
Seal if you like. Jewellery does not usually need sealing, but if you want a subtle sheen or a little extra protection you can add a light coat of acrylic sealer once the piece has cured. AC100 takes an acrylic sealer in satin or gloss. Let each piece cure for a full day before sealing or wearing. See our guide to sealing Jesmonite® for the method.
Because Jesmonite® is light in the hand, even chunky earrings stay comfortable to wear, which is part of why it works so well for this.
Making your own jewellery is one of the quickest, most rewarding ways into casting. Start small, play with colour and build up a collection you actually want to wear or gift. Pick up a set of jewellery moulds and an AC100 starter kit, and cast your first pair of earrings this weekend.
Everything from this guide in one basket: AC100 sets - 1750, with the recommended extras optional.


★★★★★ Rated Excellent on Trustpilot
Yes. Once cured, Jesmonite® is a stable, hard material that is comfortable against the skin, and AC100 is non-toxic and free of solvents and VOCs. It is also light, so larger earrings do not feel heavy. If you have sensitive skin, use quality metal findings and consider a light coat of sealer for extra peace of mind.
AC100 usually demoulds in around 30 minutes, and small pieces are ready reliably in that window. It then keeps hardening and reaches full strength over the next 24 hours. Sand your pieces soon after demoulding while the cast is still relatively soft, then wait a full day before sealing or wearing them.
Jesmonite® is opaque, so flowers embedded in it would be hidden. For see-through pieces that show off dried flowers, use Reslin® instead. It is 100% plant-based and see-through (though not water-clear like epoxy), and it blends happily with pigments, dried flowers and fillers, which makes it a beautiful choice for flower-set pendants.
Mix thoroughly, then pour slowly in a thin stream from about 10 cm up. The main technique is to gently tap and vibrate the mould so trapped air rises to the surface, then pop any remaining bubbles with a toothpick. Only for moulds with a lot of fine detail, you can first brush a thin layer into the cavity, but for most pieces this isn’t needed. For more, see our guide on preventing and fixing air bubbles.
Lena turns raw casts into pieces you want on your shelf, and pins everything she makes. Part of the Gigacrea maker team.