Nothing here yet. Every maker starts somewhere.
Pick a starter kit with everything for your first cast, or let the beginner guides walk you through it.
Shop the starter kits Read the beginner guides
 By Lena Verhoeven
·
6 min read
Beginner
By Lena Verhoeven
·
6 min read
Beginner
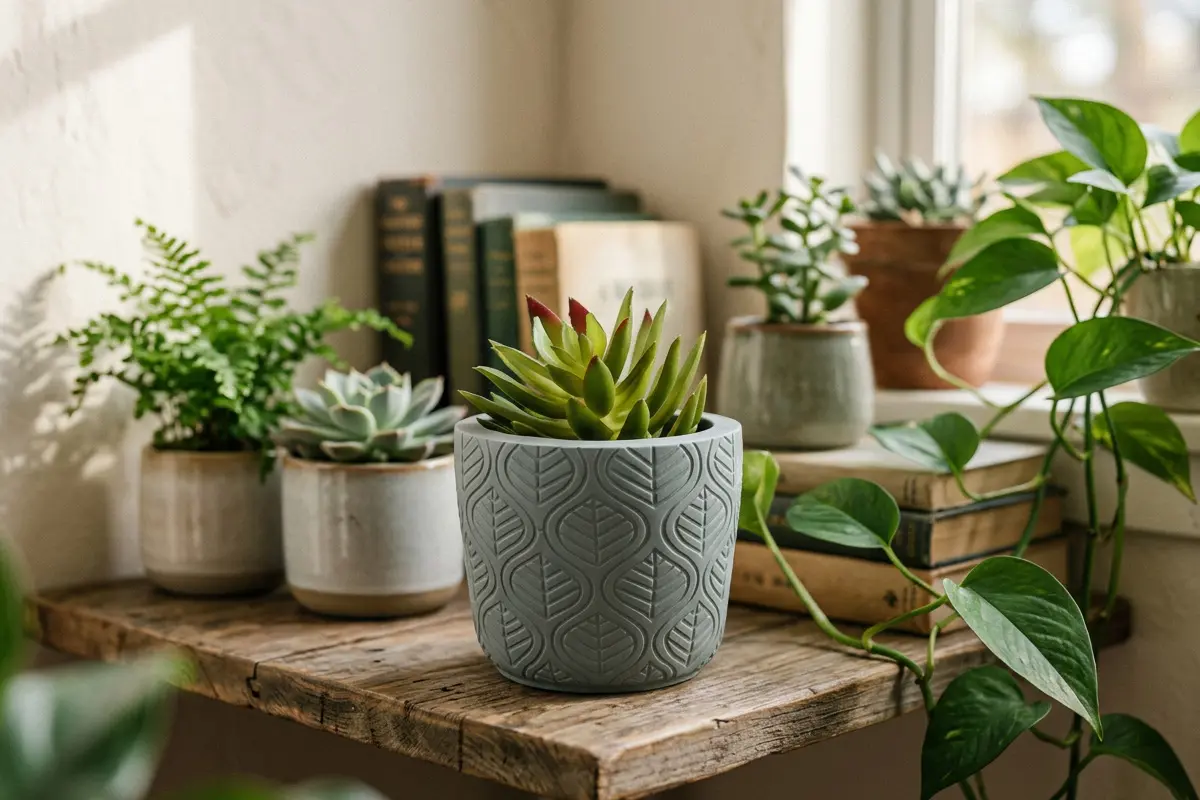
Jesmonite® plant pots are one of the most satisfying casting projects you can make: a chunky little planter that looks like stone or terrazzo, finished exactly how you want it. This guide walks you through which material to use for indoor pots versus outdoor planters, how to cast a pot step by step, and the simple tricks that keep your plants happy. Whether you want a decorative pot for a windowsill succulent or a bigger planter for the patio, you will know exactly what to buy and how to do it.
Not sure how much to mix? Use our free Jesmonite® calculator — enter the water weight of your mould and it gives you the exact liquid and base amounts.
The single most important decision is the material, and it depends on where the pot will live.
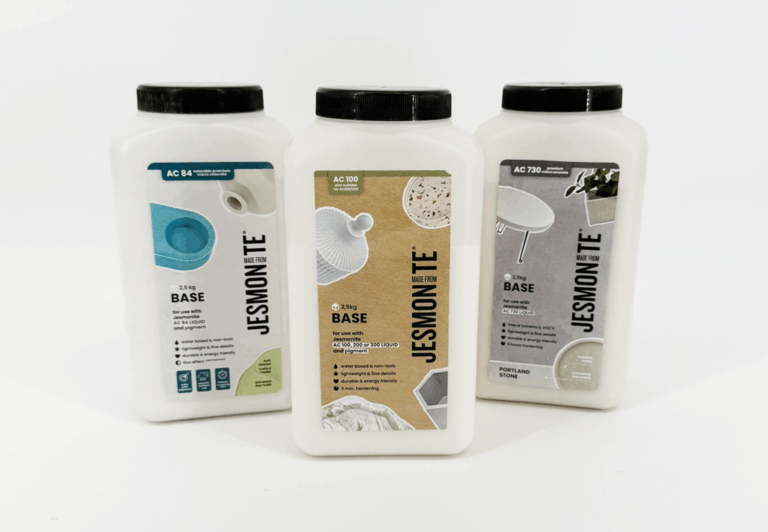
For indoor decorative pots, reach for AC100. It is the beginner-friendly, water-based variant for indoor homeware like trays, vases and pots. It is non-toxic and solvent-free, demoulds after about 30 minutes, and is fully cured after 24 hours. AC100 is porous, so seal it (and add a drainage hole) if you want to plant straight in, or use it as a decorative cover pot around a plant.
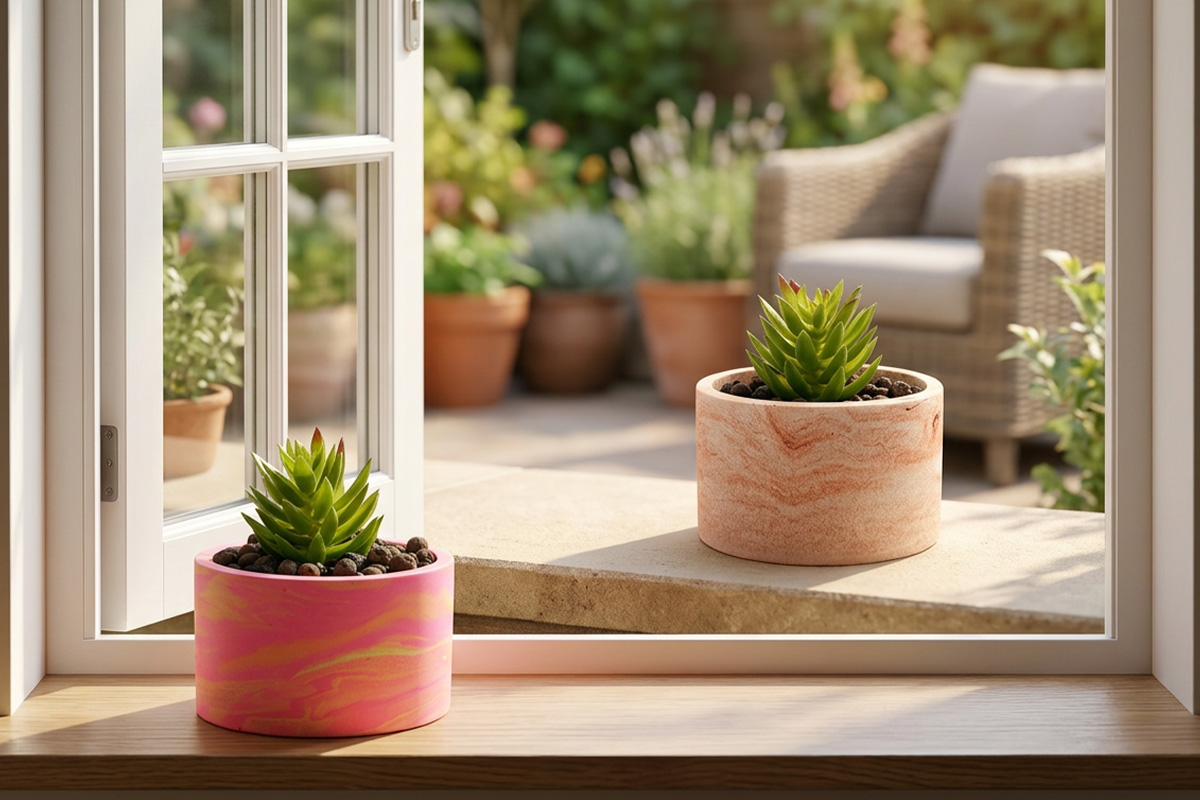
For outdoor planters that face rain, frost and sun, do not use AC100. Choose AC730, a tough, cement-based variant that gives a lovely stone or textured look and is rated for indoor and outdoor use. Alternatively, AC84 is a versatile, weather-resistant cement-based option that also works indoors and outdoors and is easy to pour.
Whichever outdoor material you pick, Jesmonite® is porous by nature, so an outdoor piece must be sealed with a penetrating or Flexiguard sealer before it goes outside. That invisible barrier keeps water out without changing the look.
New to casting? An AC100 starter kit bundles the essentials so you can get straight to making.
Jesmonite® is porous, so plan for water before you plant anything. You have two easy routes, pick whichever suits your plant.
Plant straight into your pot. You don’t need a plastic liner. Add a drainage hole (the simplest way is to drill one once the pot is fully cured) so water isn’t left standing against the walls, and seal the pot so moisture can’t soak in. Stand the finished planter on a saucer.
Or use it as a decorative cover pot. If you’d rather not seal or drill, keep the plant in the pot it came in and drop that inside your Jesmonite® pot. Your cast becomes a decorative cover, and you can lift the plant out to water it at the sink.
Outdoor planters. Any pot that lives outside should be cast in AC730 or AC84, then sealed with a penetrating or Flexiguard sealer once fully cured. This gives invisible water protection so rain and frost cannot soak into the material, which keeps an outdoor planter looking good season after season. See our guide to sealing Jesmonite® for the method.
Ready to cast your first planter? Pick a shape from the moulds collection, choose AC100 for indoor or AC730 for outdoor, and start making pots you will actually want to display.
Everything from this guide in one basket: AC100 sets - 3500, with the recommended extras optional.


★★★★★ Rated Excellent on Trustpilot
Yes, but the material matters. AC100 is meant for indoor decorative pieces, so for outdoor planters use AC730 or AC84 instead. Because Jesmonite® is porous, seal any outdoor pot with a penetrating or Flexiguard sealer once it is fully cured to keep water out.
Yes. You don’t need a plastic liner, add a drainage hole and seal the pot so moisture can’t soak into the porous material. If you’d rather not seal or drill, keep the plant in the pot it came in and use your cast as a decorative cover pot instead.
Demould at around 30 minutes and sand any edges soon after, while the cast is still relatively soft. Then let the pot cure for 24 hours as it reaches full strength before you seal or plant. Sealing too early, on material that has not fully cured, can affect the finish.
For AC100, measure the volume of water needed to fill the empty mould, add about 10% spare, divide by 2 to get your Jesmonite® liquid, then multiply the liquid by 2.5 to get your Jesmonite® base. For AC84 or AC730, use an online Jesmonite® calculation tool or the Jesmonite® app.
Lena turns raw casts into pieces you want on your shelf, and pins everything she makes. Part of the Gigacrea maker team.